Simple wireless power transmission manufacturing method
After seeing a lot of wireless power transmission circuits, I can’t help but admire-there are too many parts! Today, I teach you how to make a simple wireless power transmission. Although it is not as effective as a wireless power transmission circuit with many parts, it is also enough for us to enjoy the fun of wireless power transmission and do-it-yourself production.
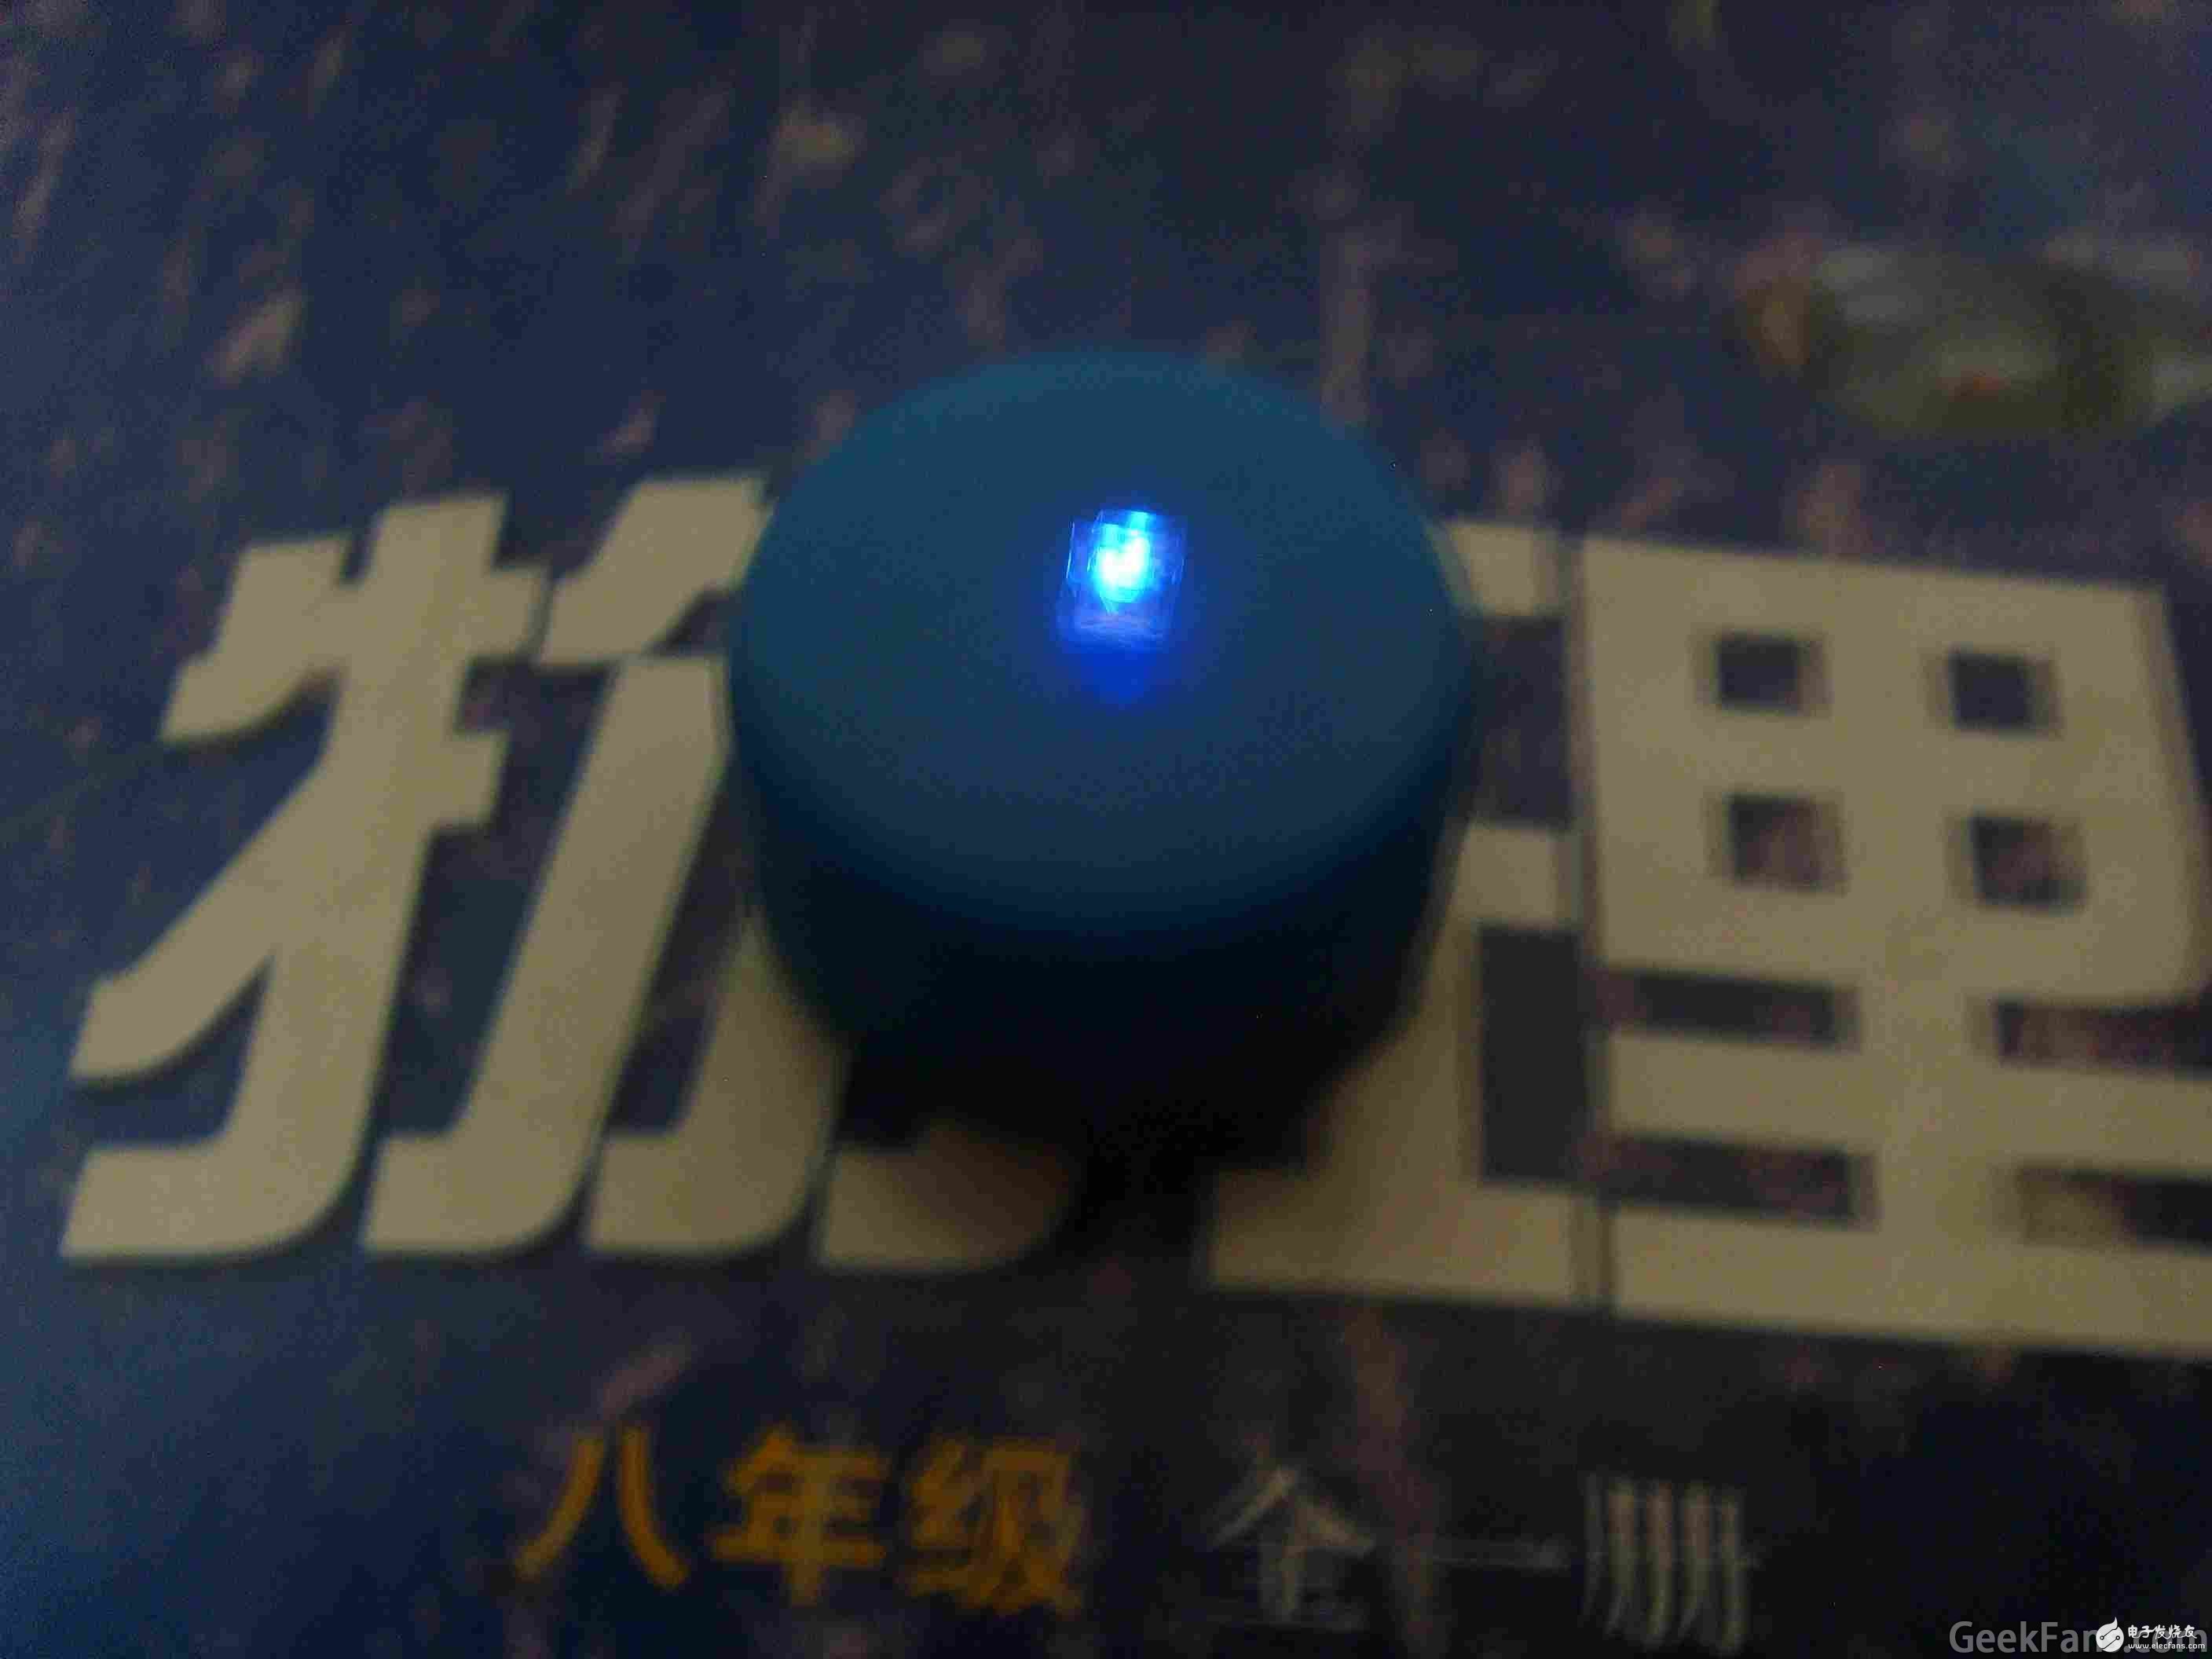
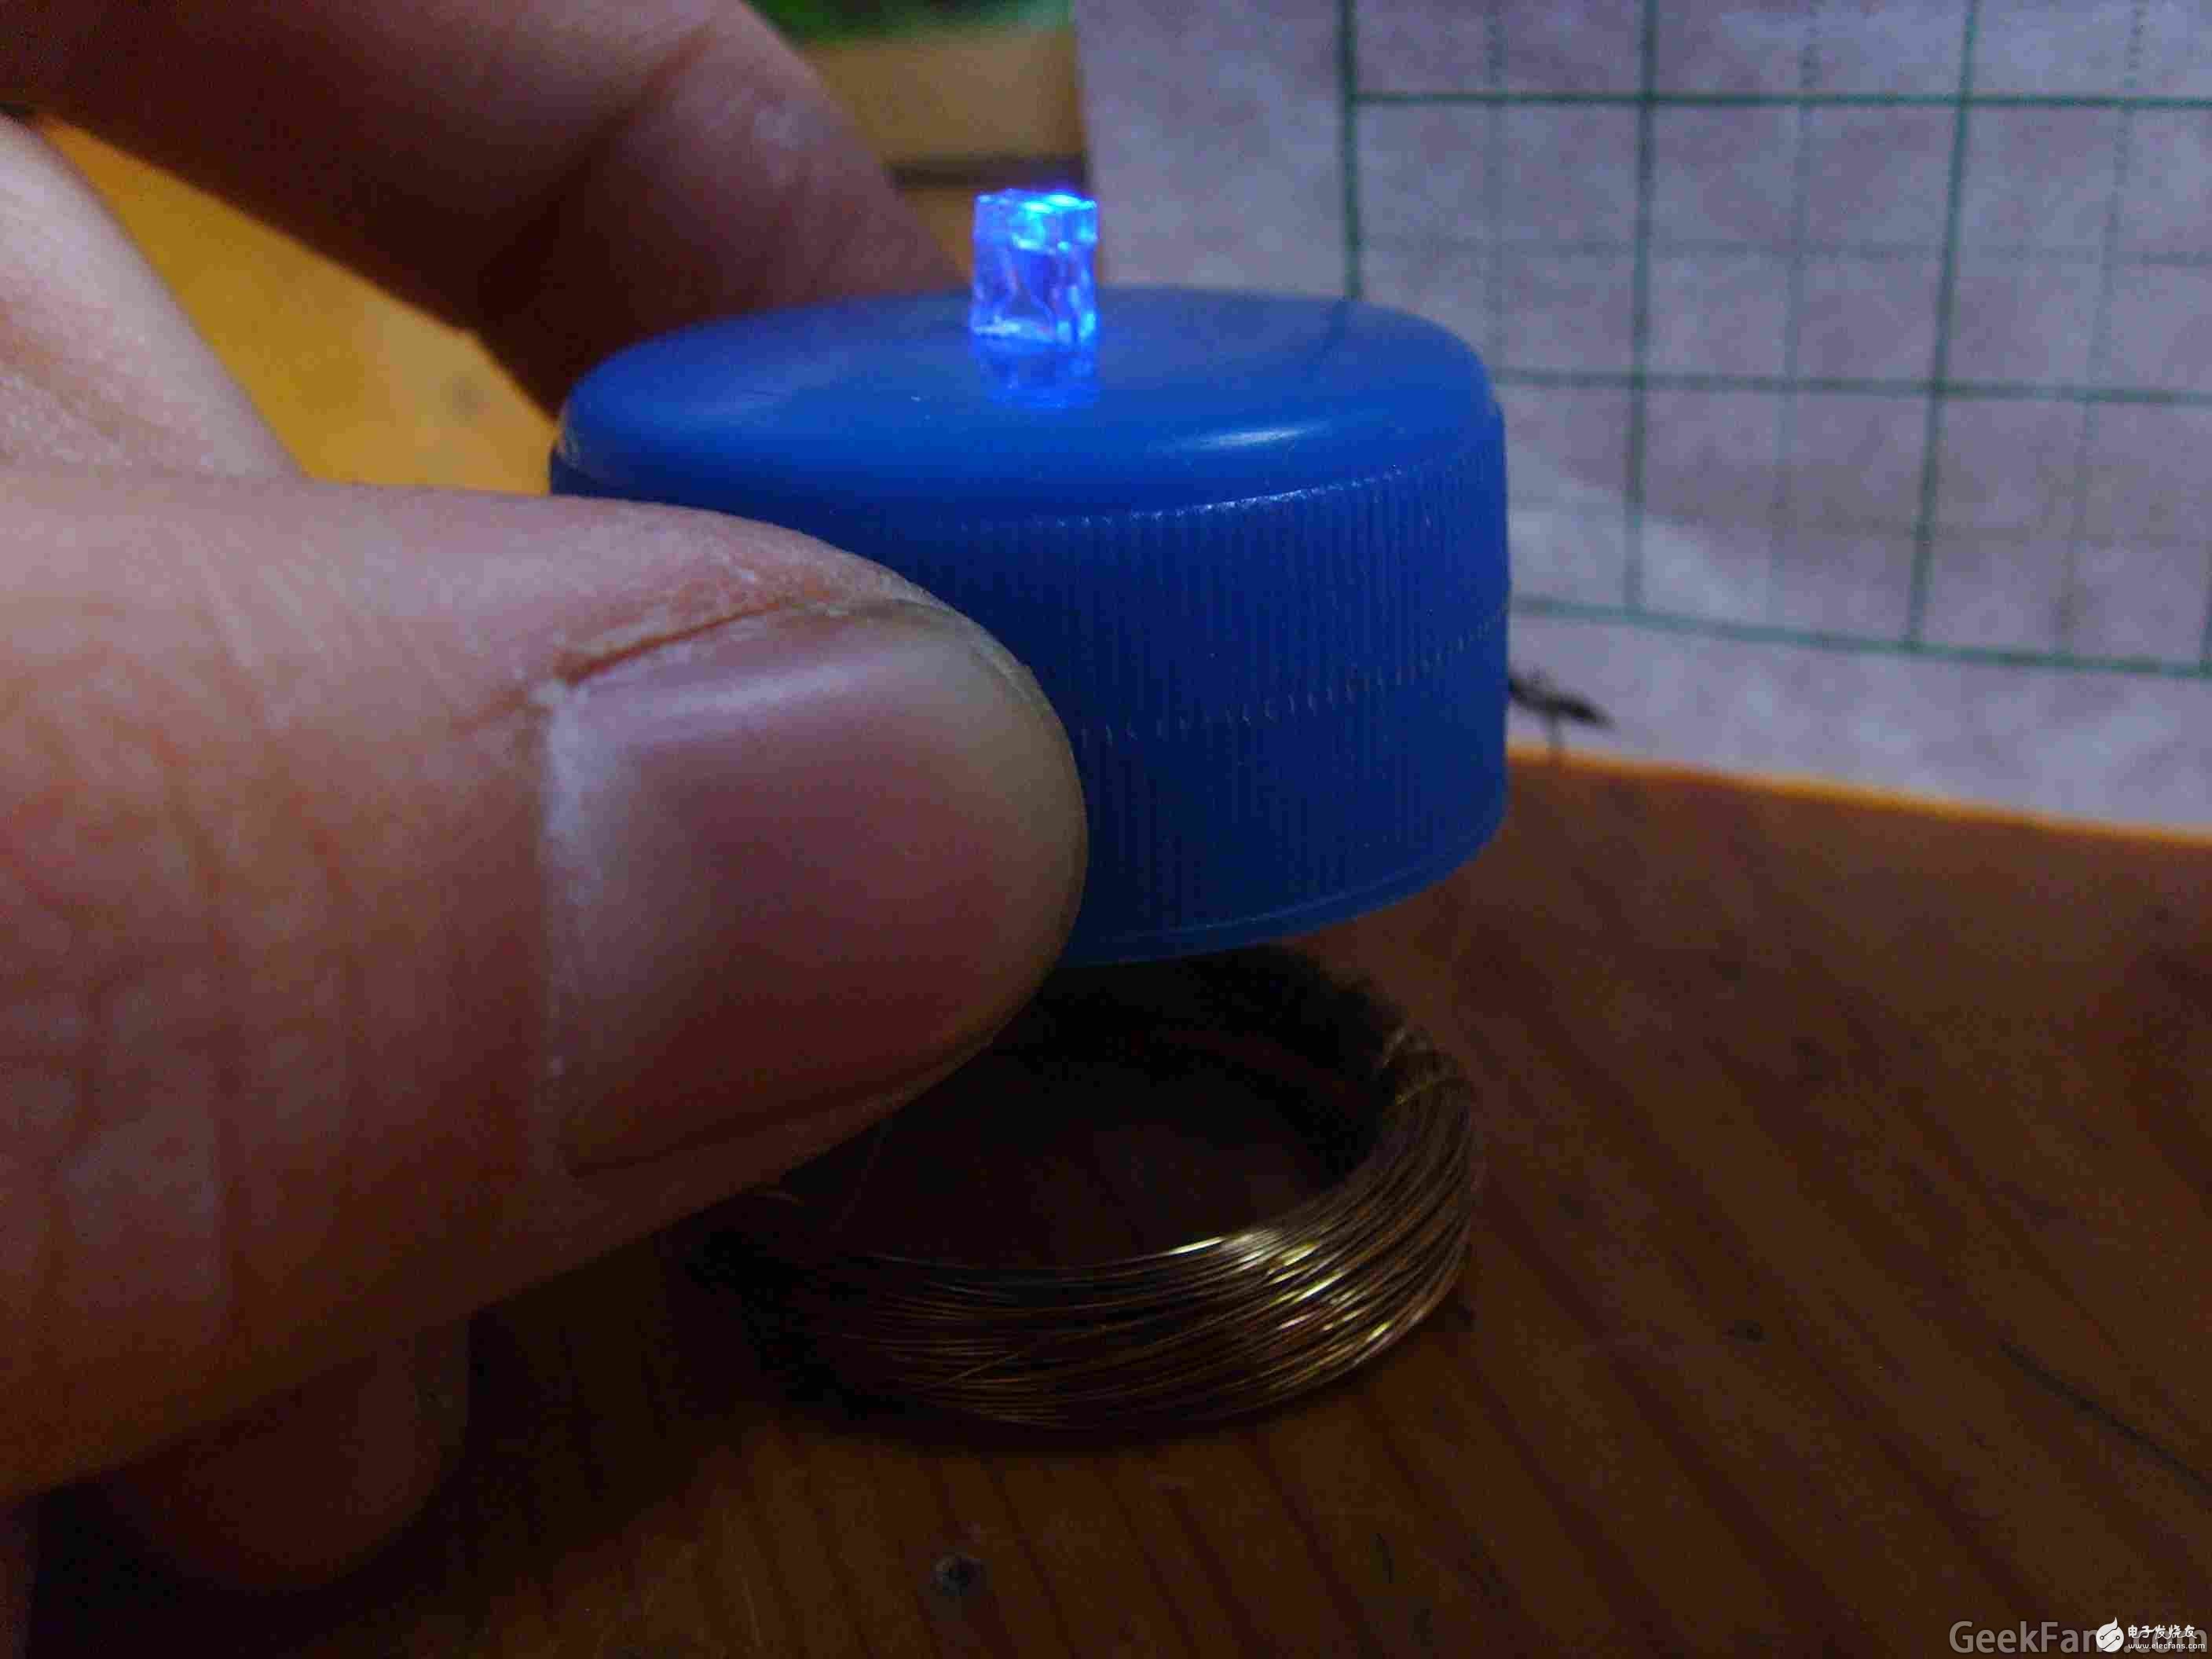
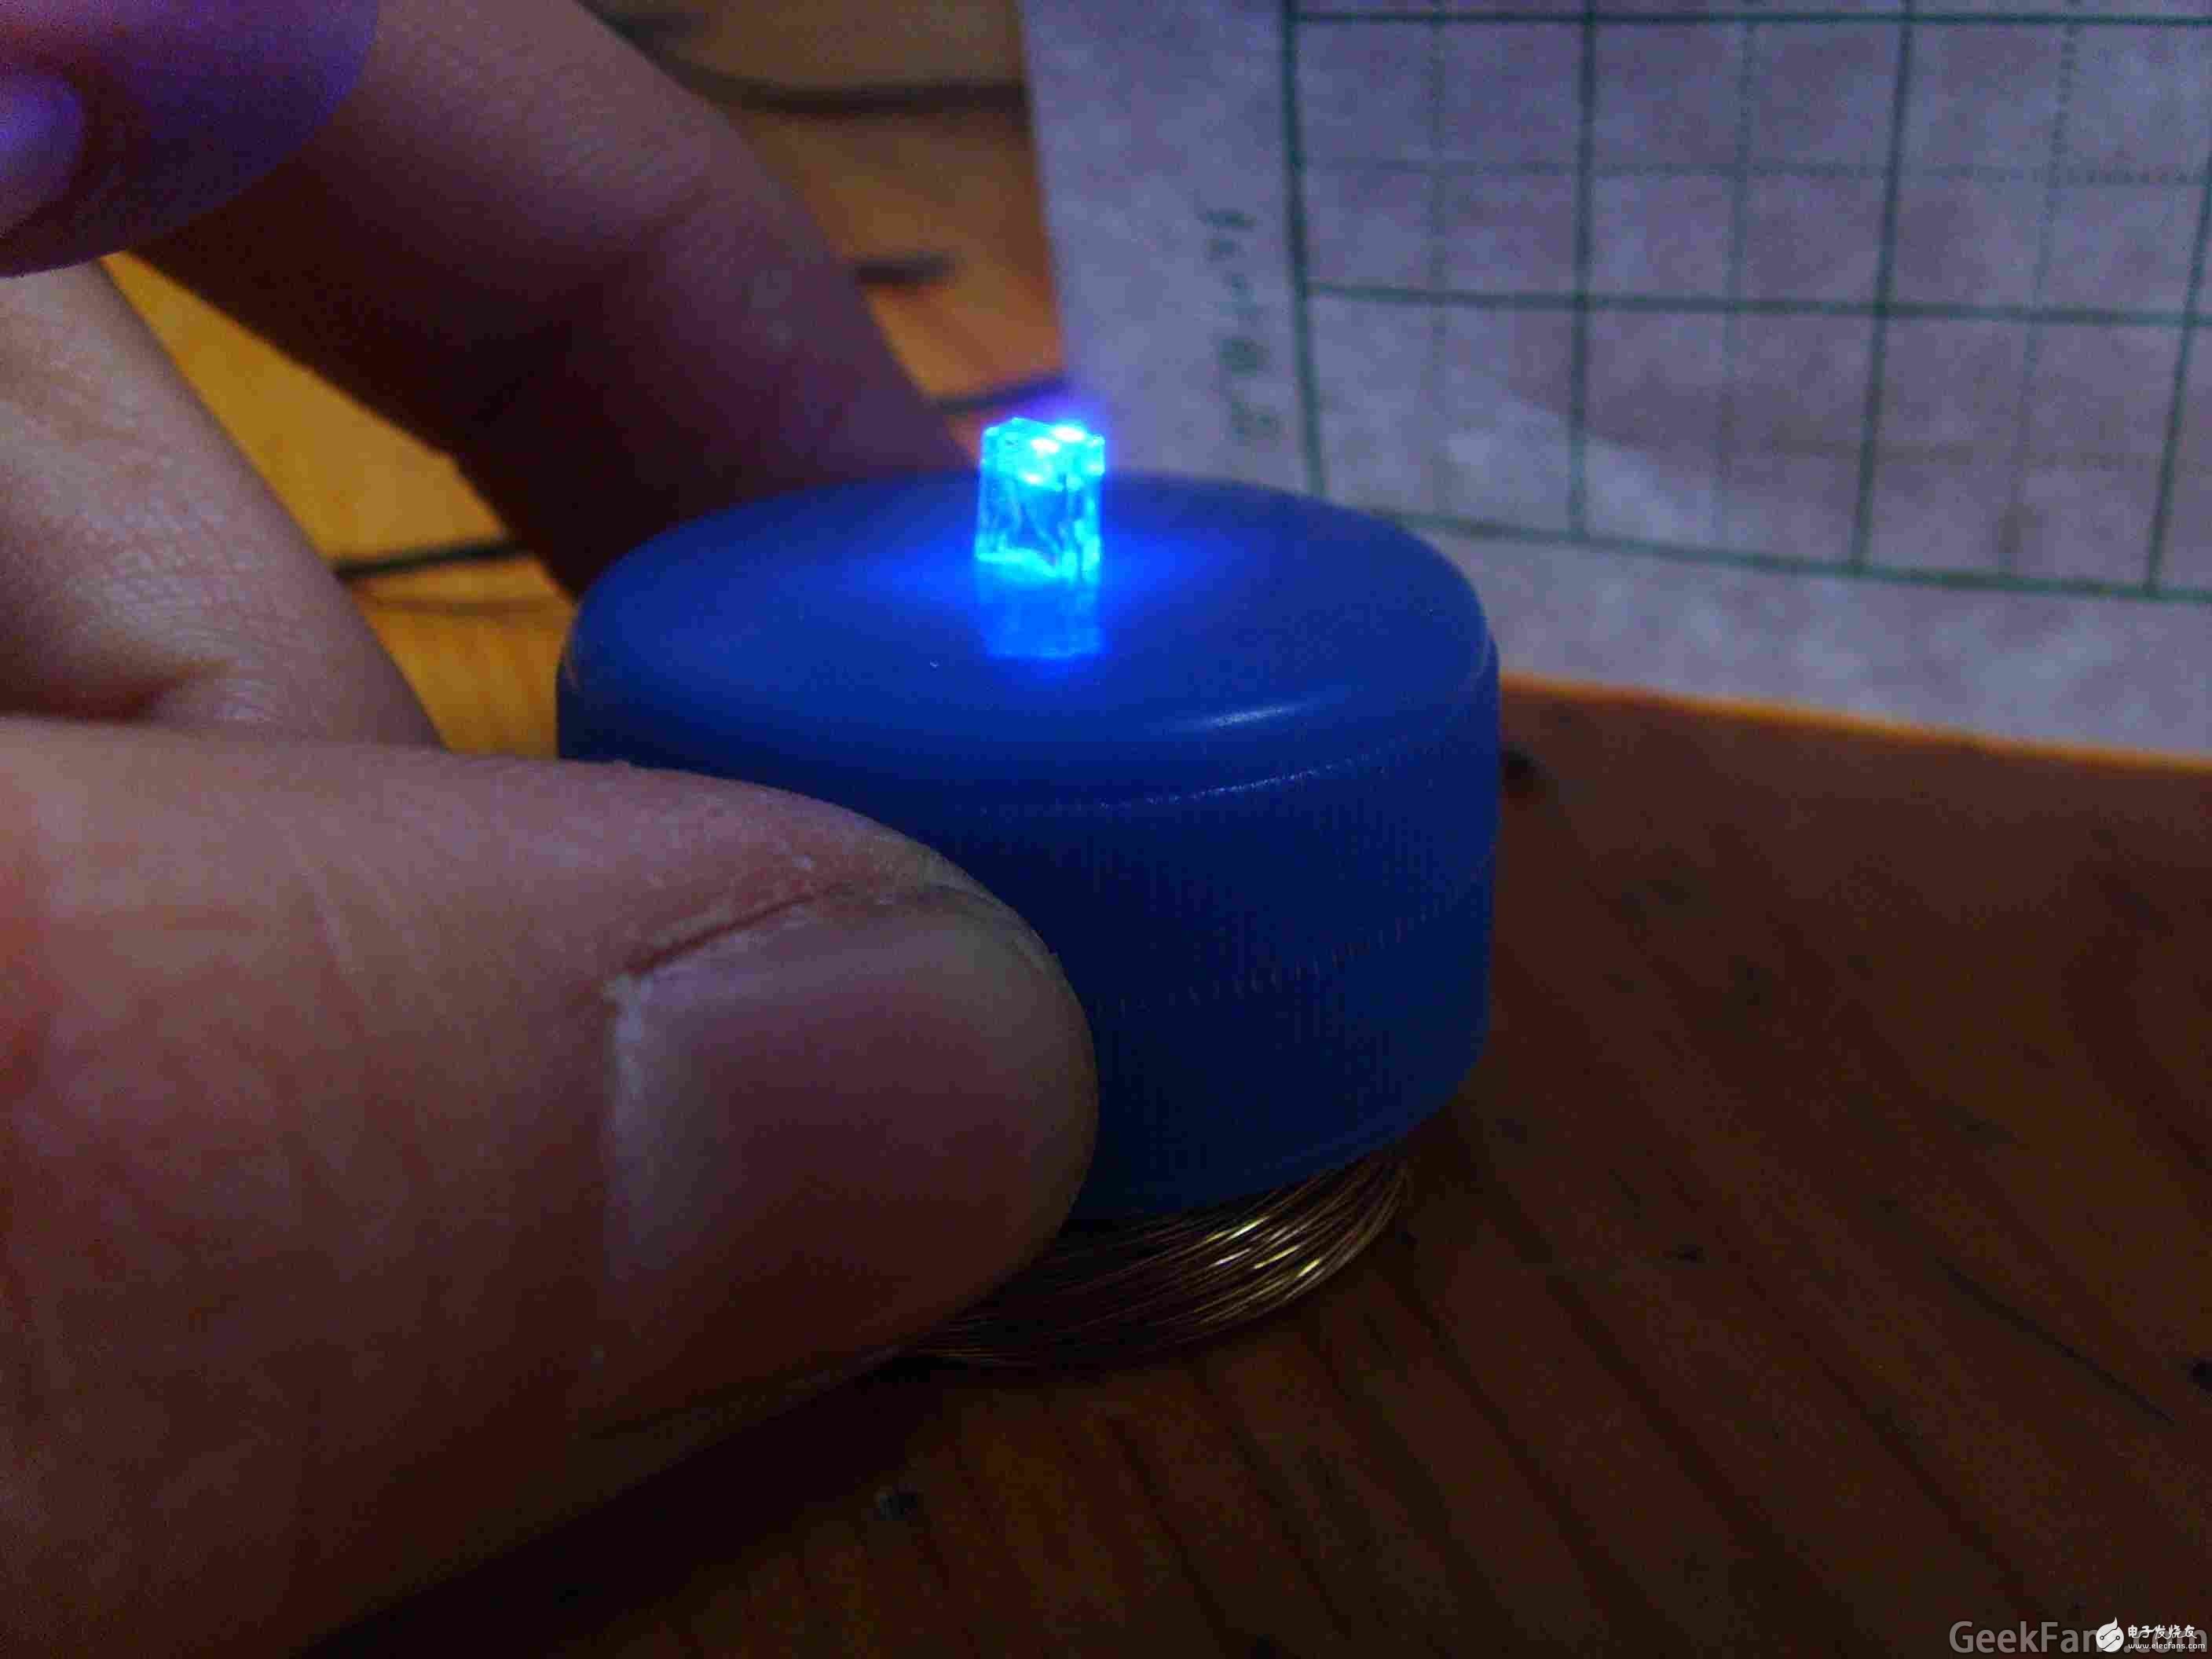
Look at the picture first, haha ​​the light on the textbook is on! This is the approximate effect.
Okay, ready to make it!
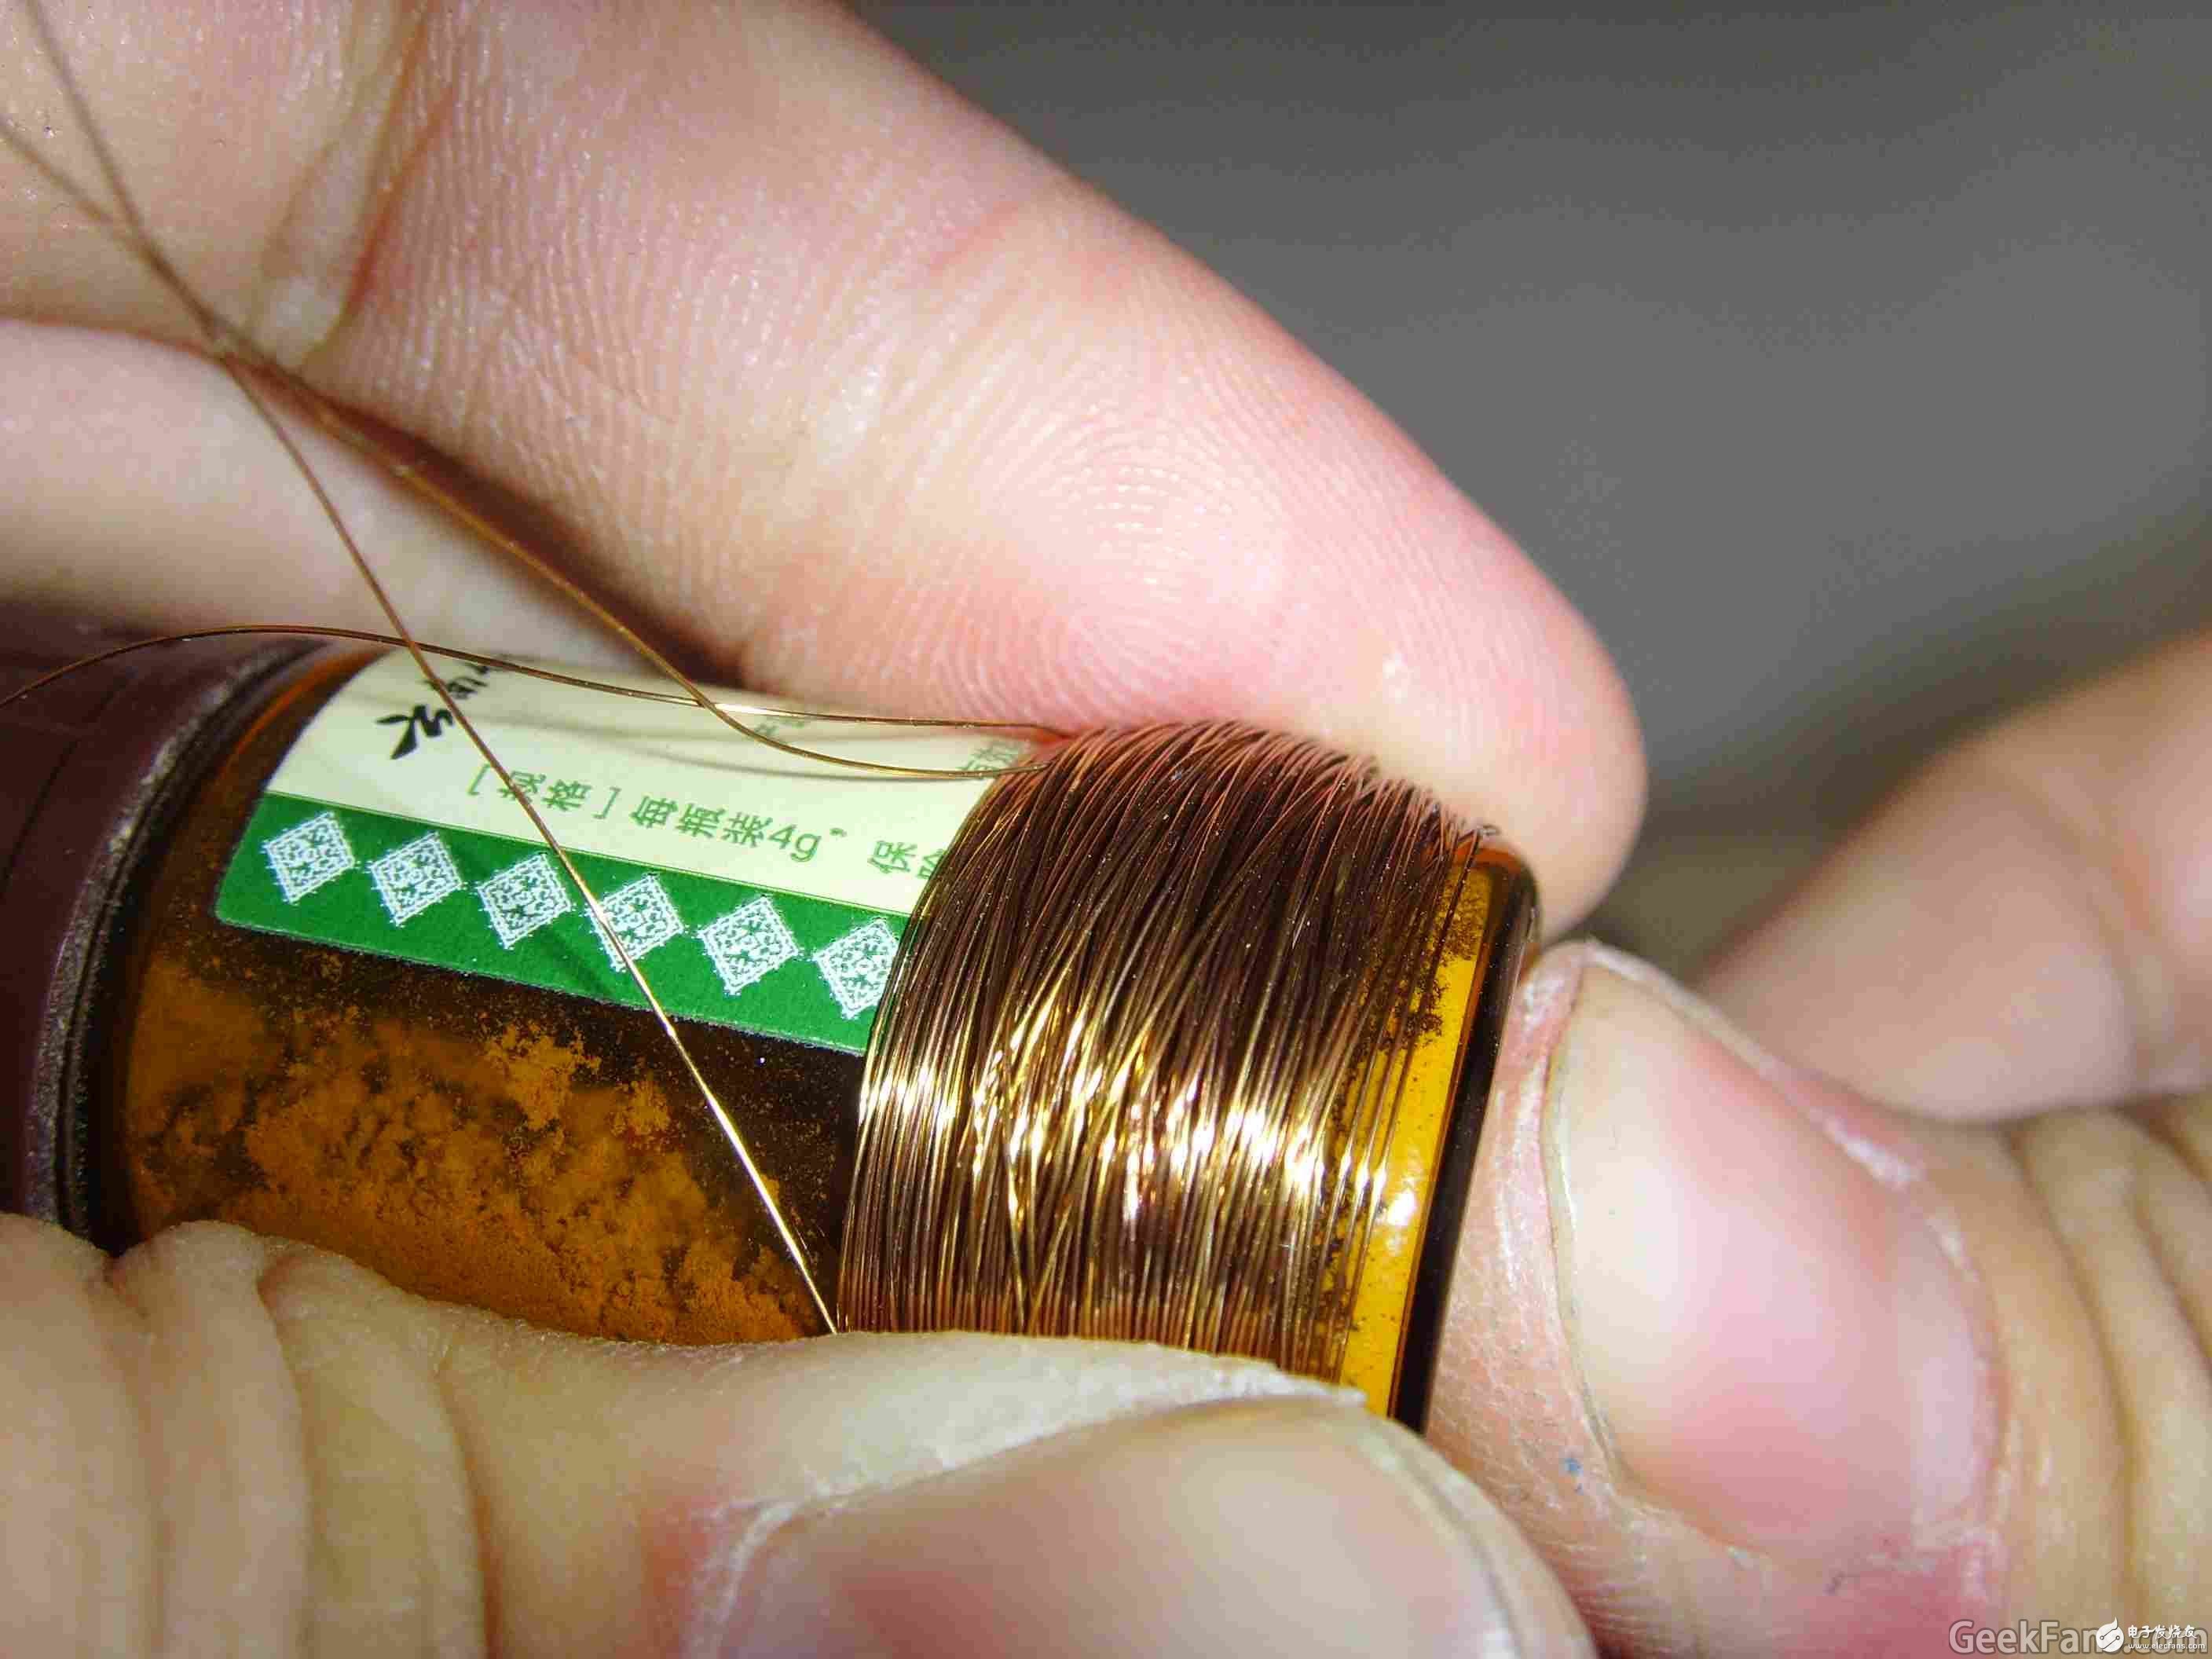
Material: several meters of enameled wire with a diameter of about 0.2mm,
Bottle cap,
Small bottle (small diameter, used for winding coils),
Plastic shell (hollow cylinder),
Colored plastic sticky notes (optional color, for good-looking).
-------------------------------------------------- -----------------
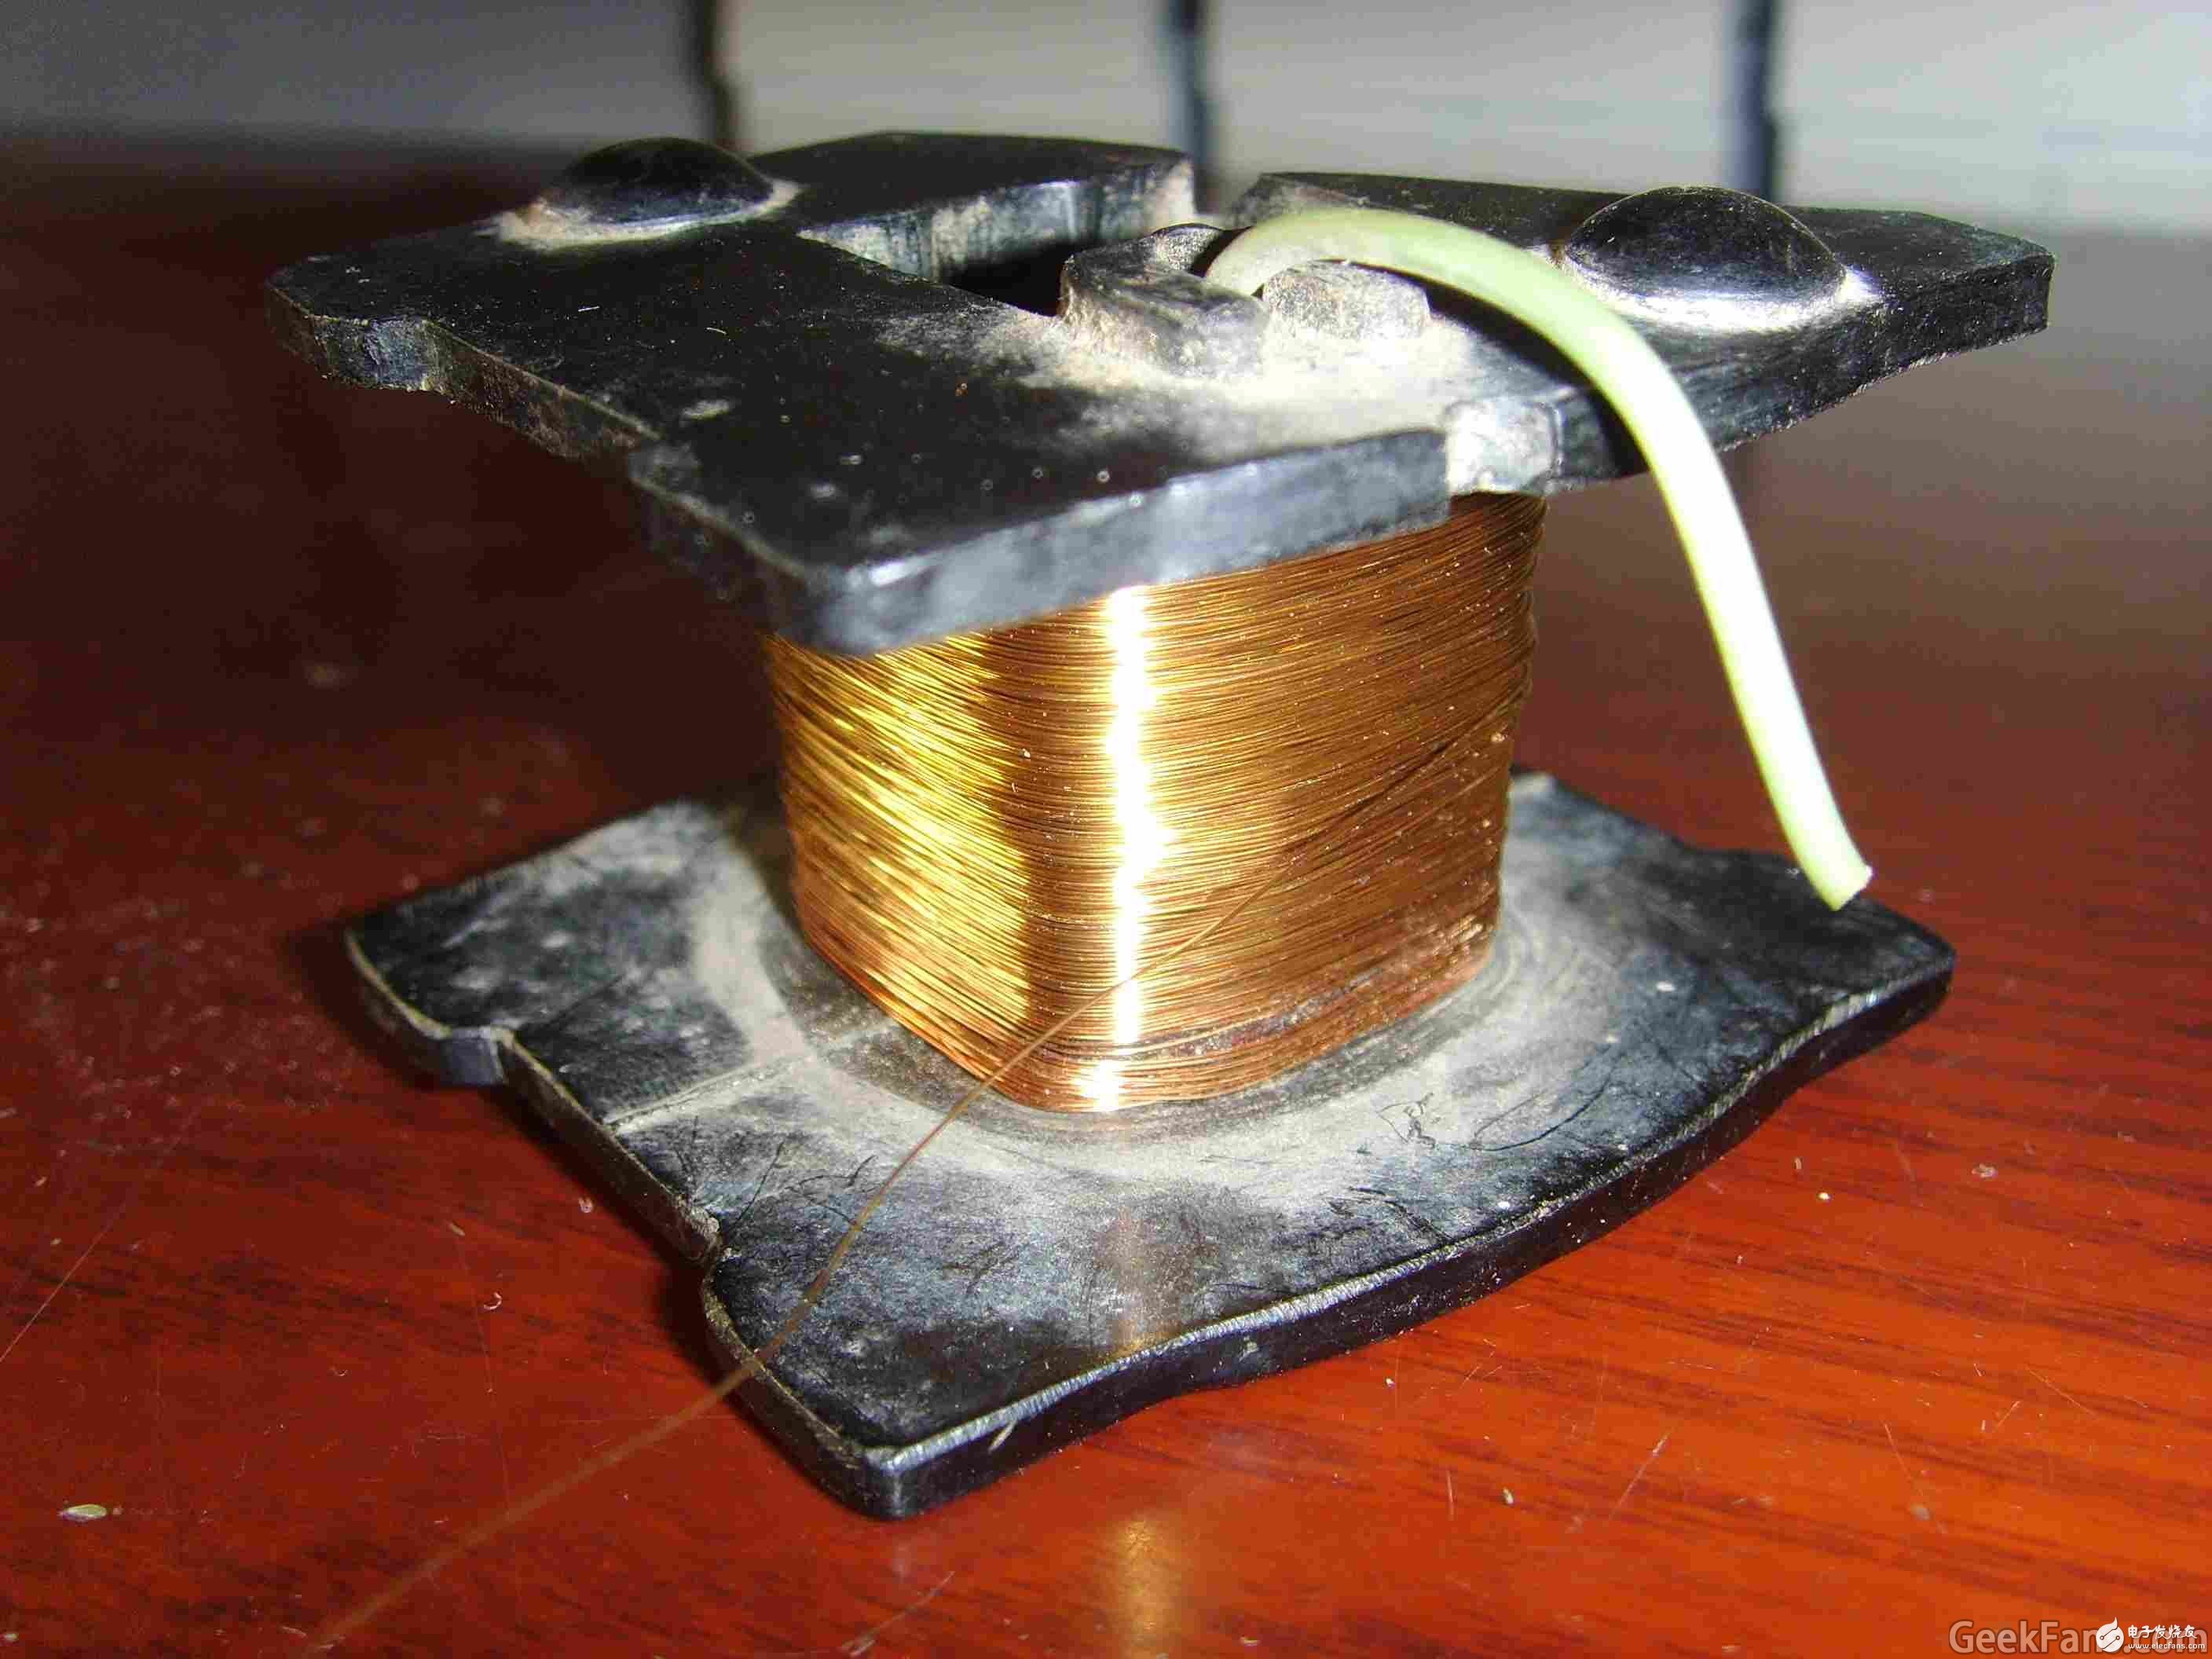
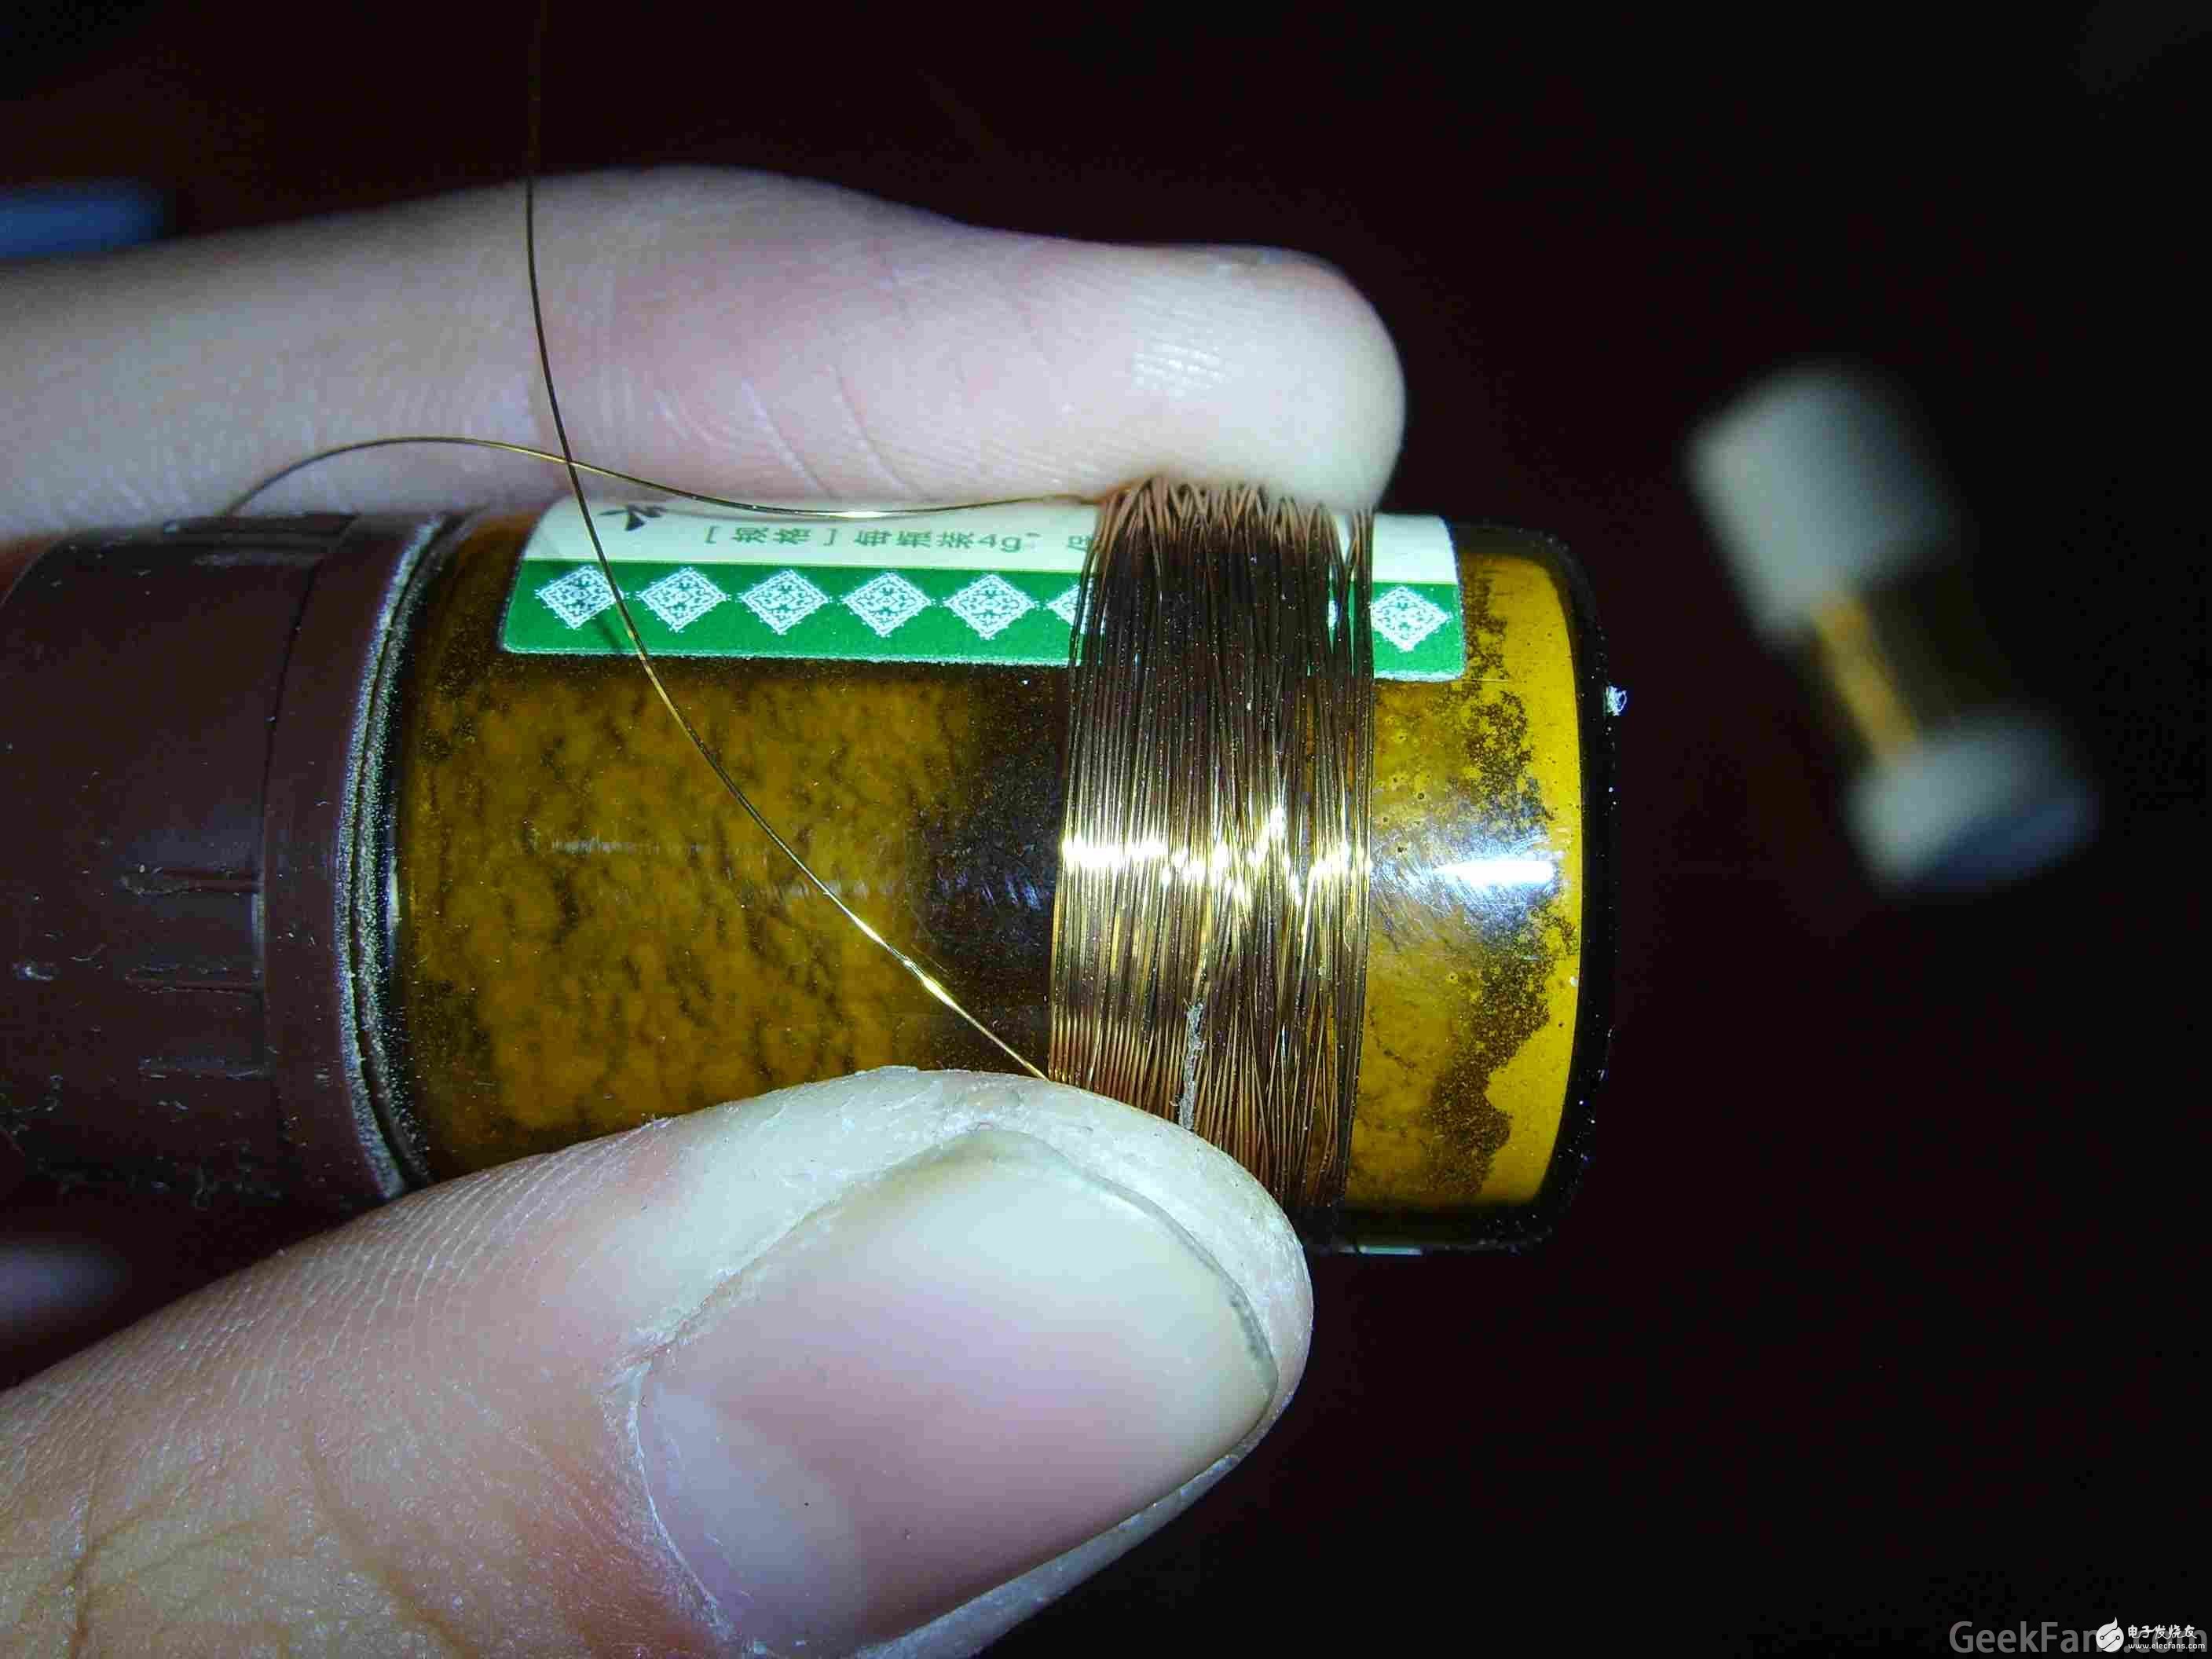
First prepare a long coil of enameled wire, which can be removed from the relay or transformer.
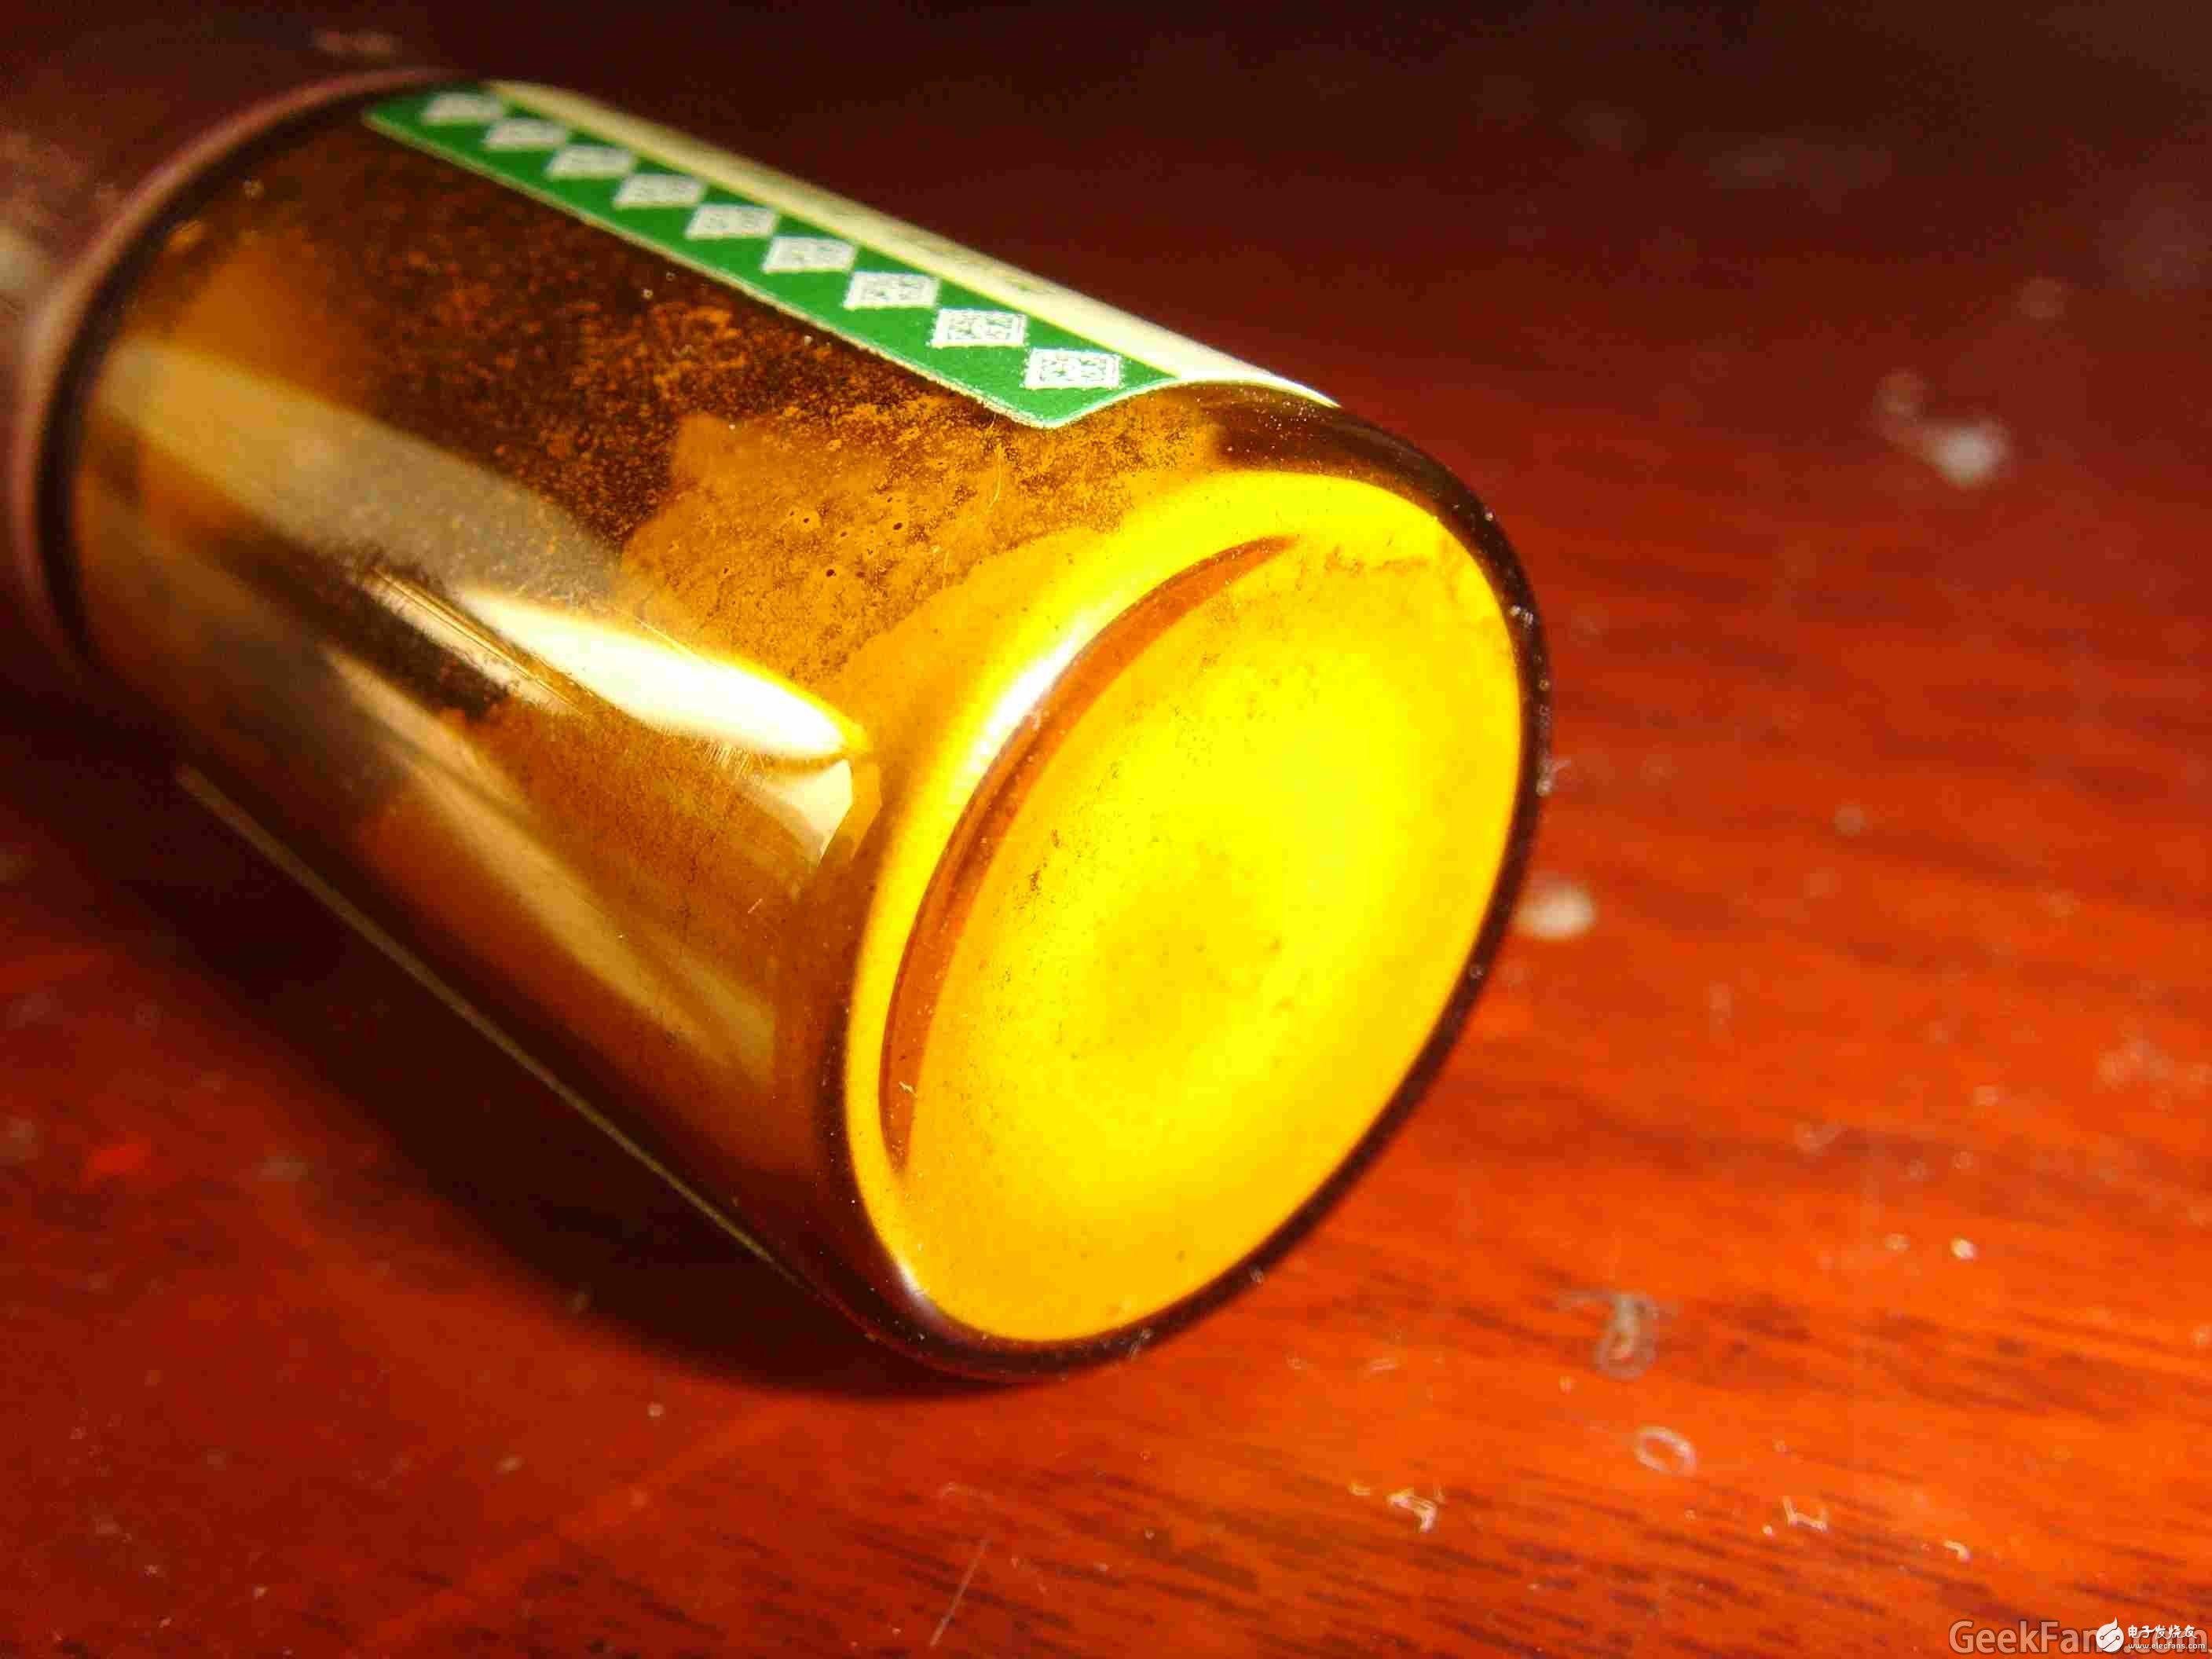
Find a small bottle, the diameter must be small, or the thickness of the thread after winding it will not fit in the bottle cap, so it must be measured. Just use a similar small medicine bottle as shown in the figure.
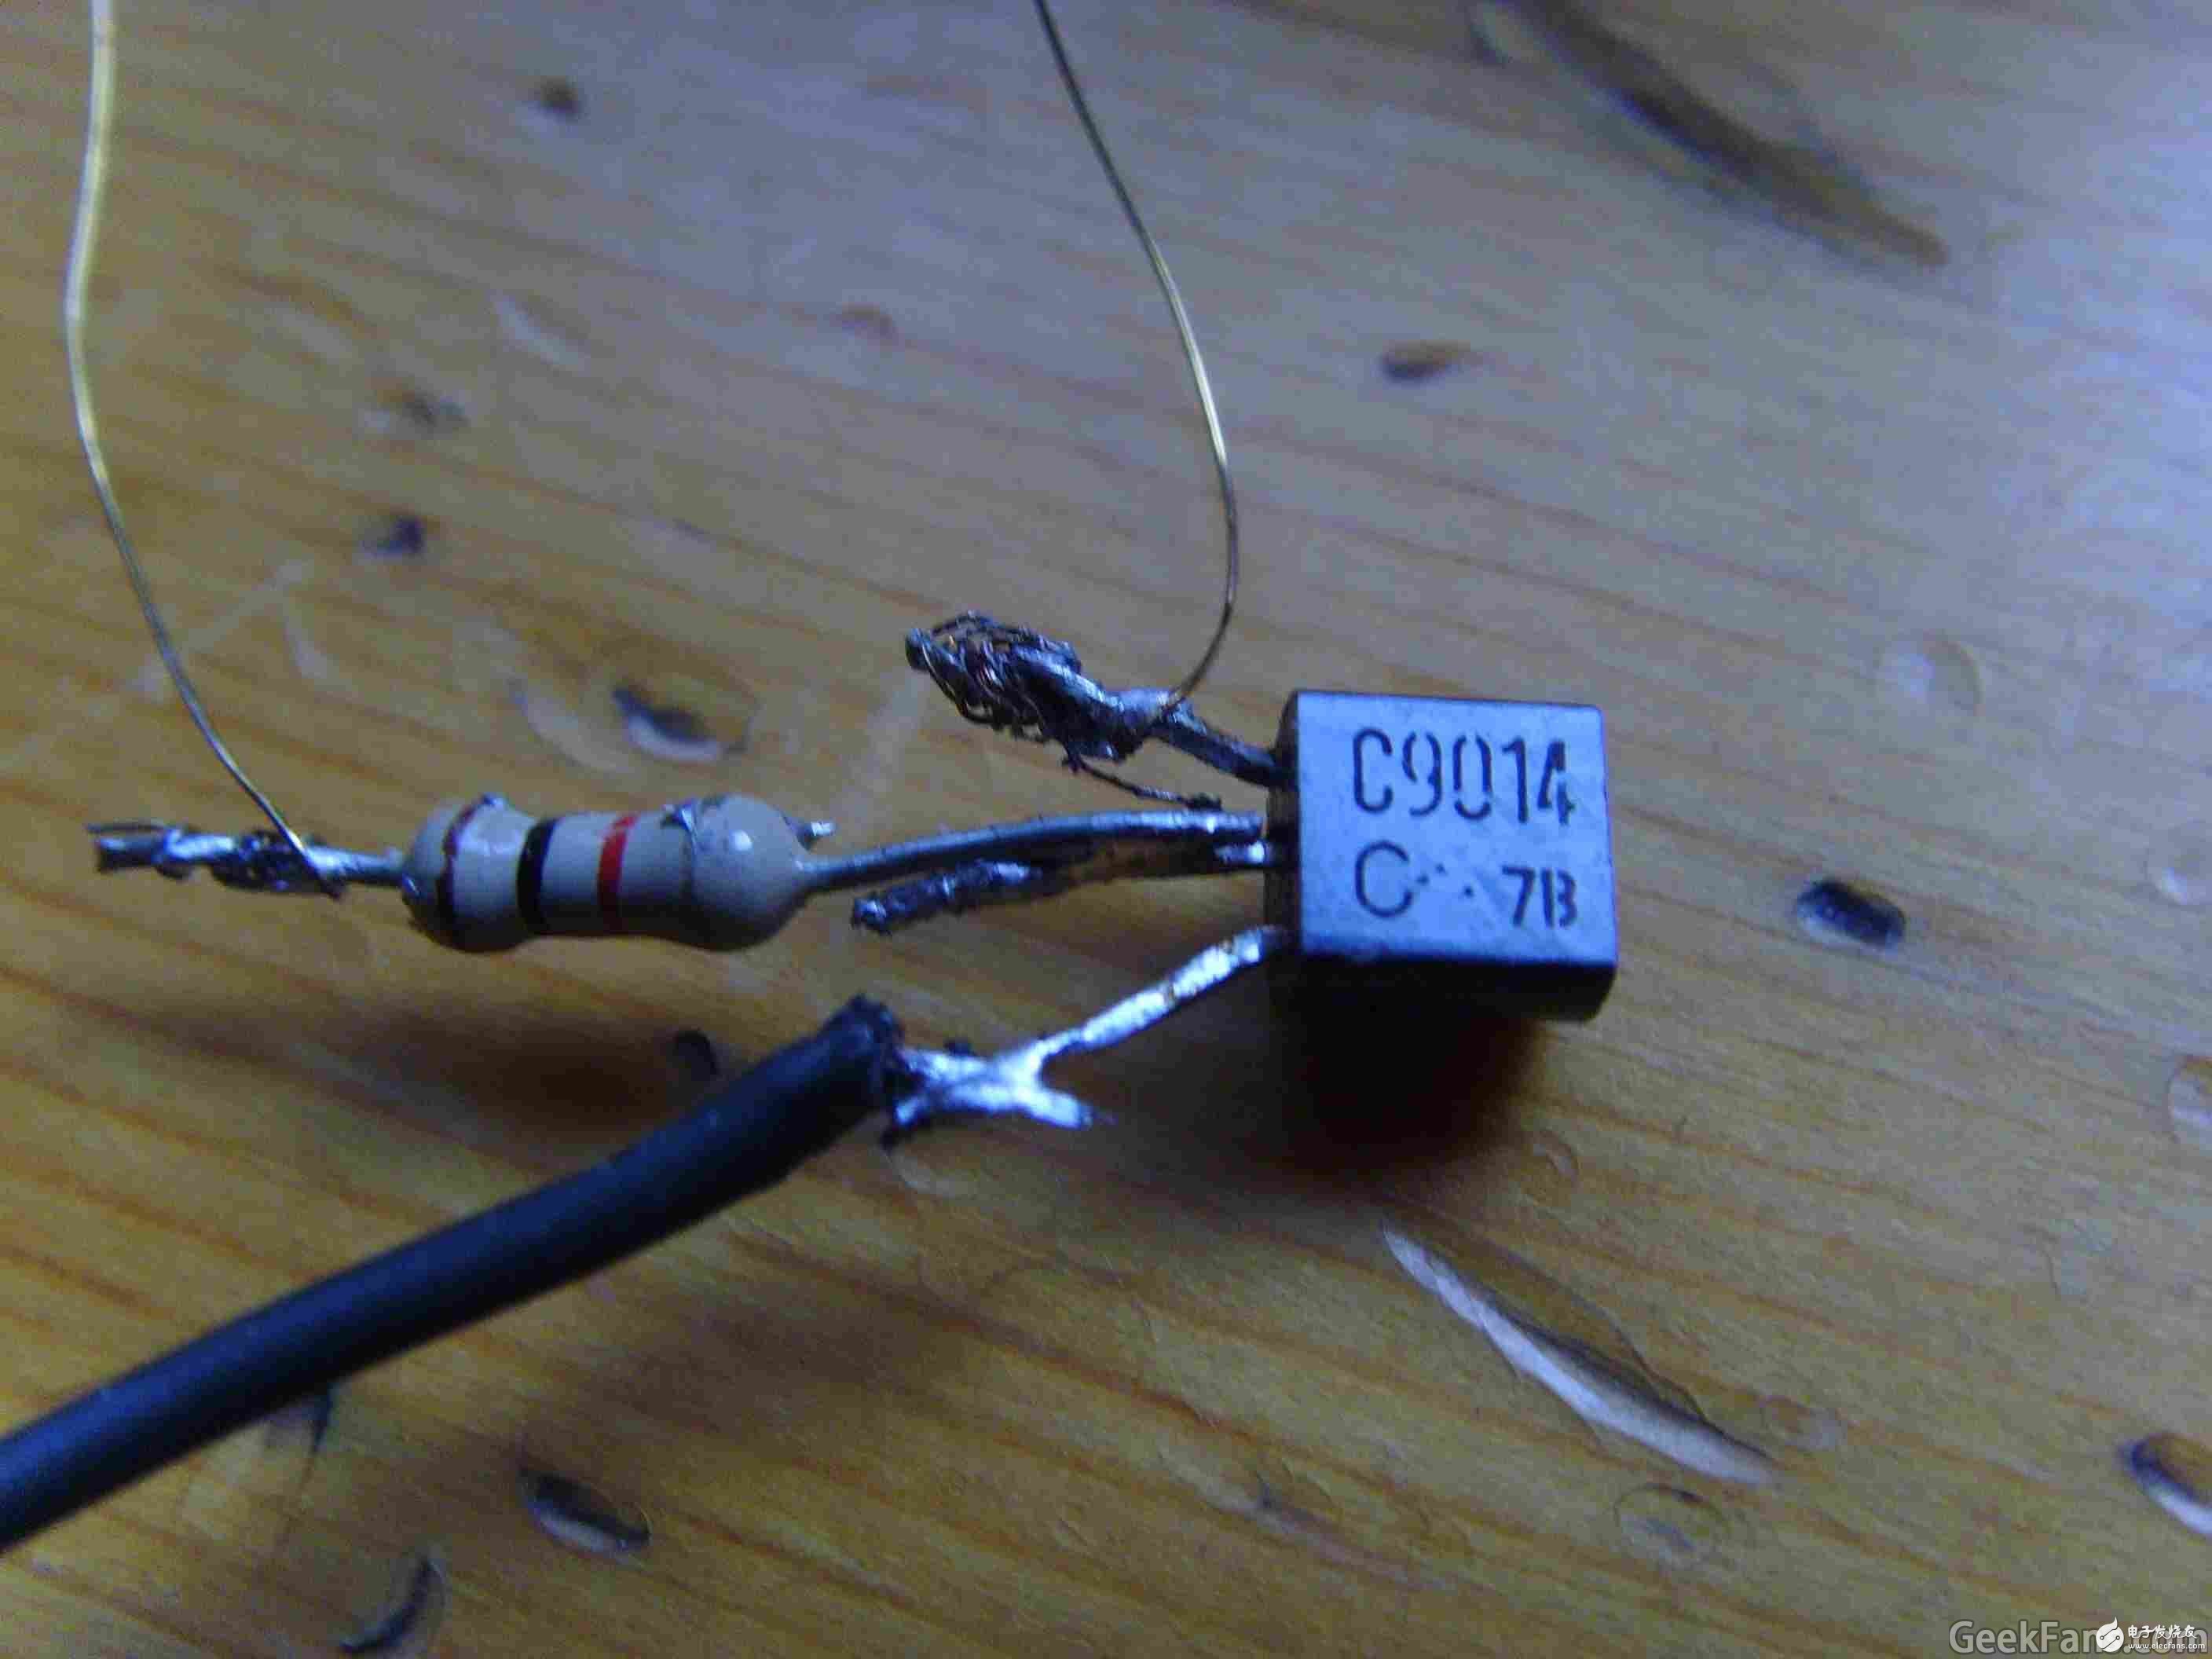
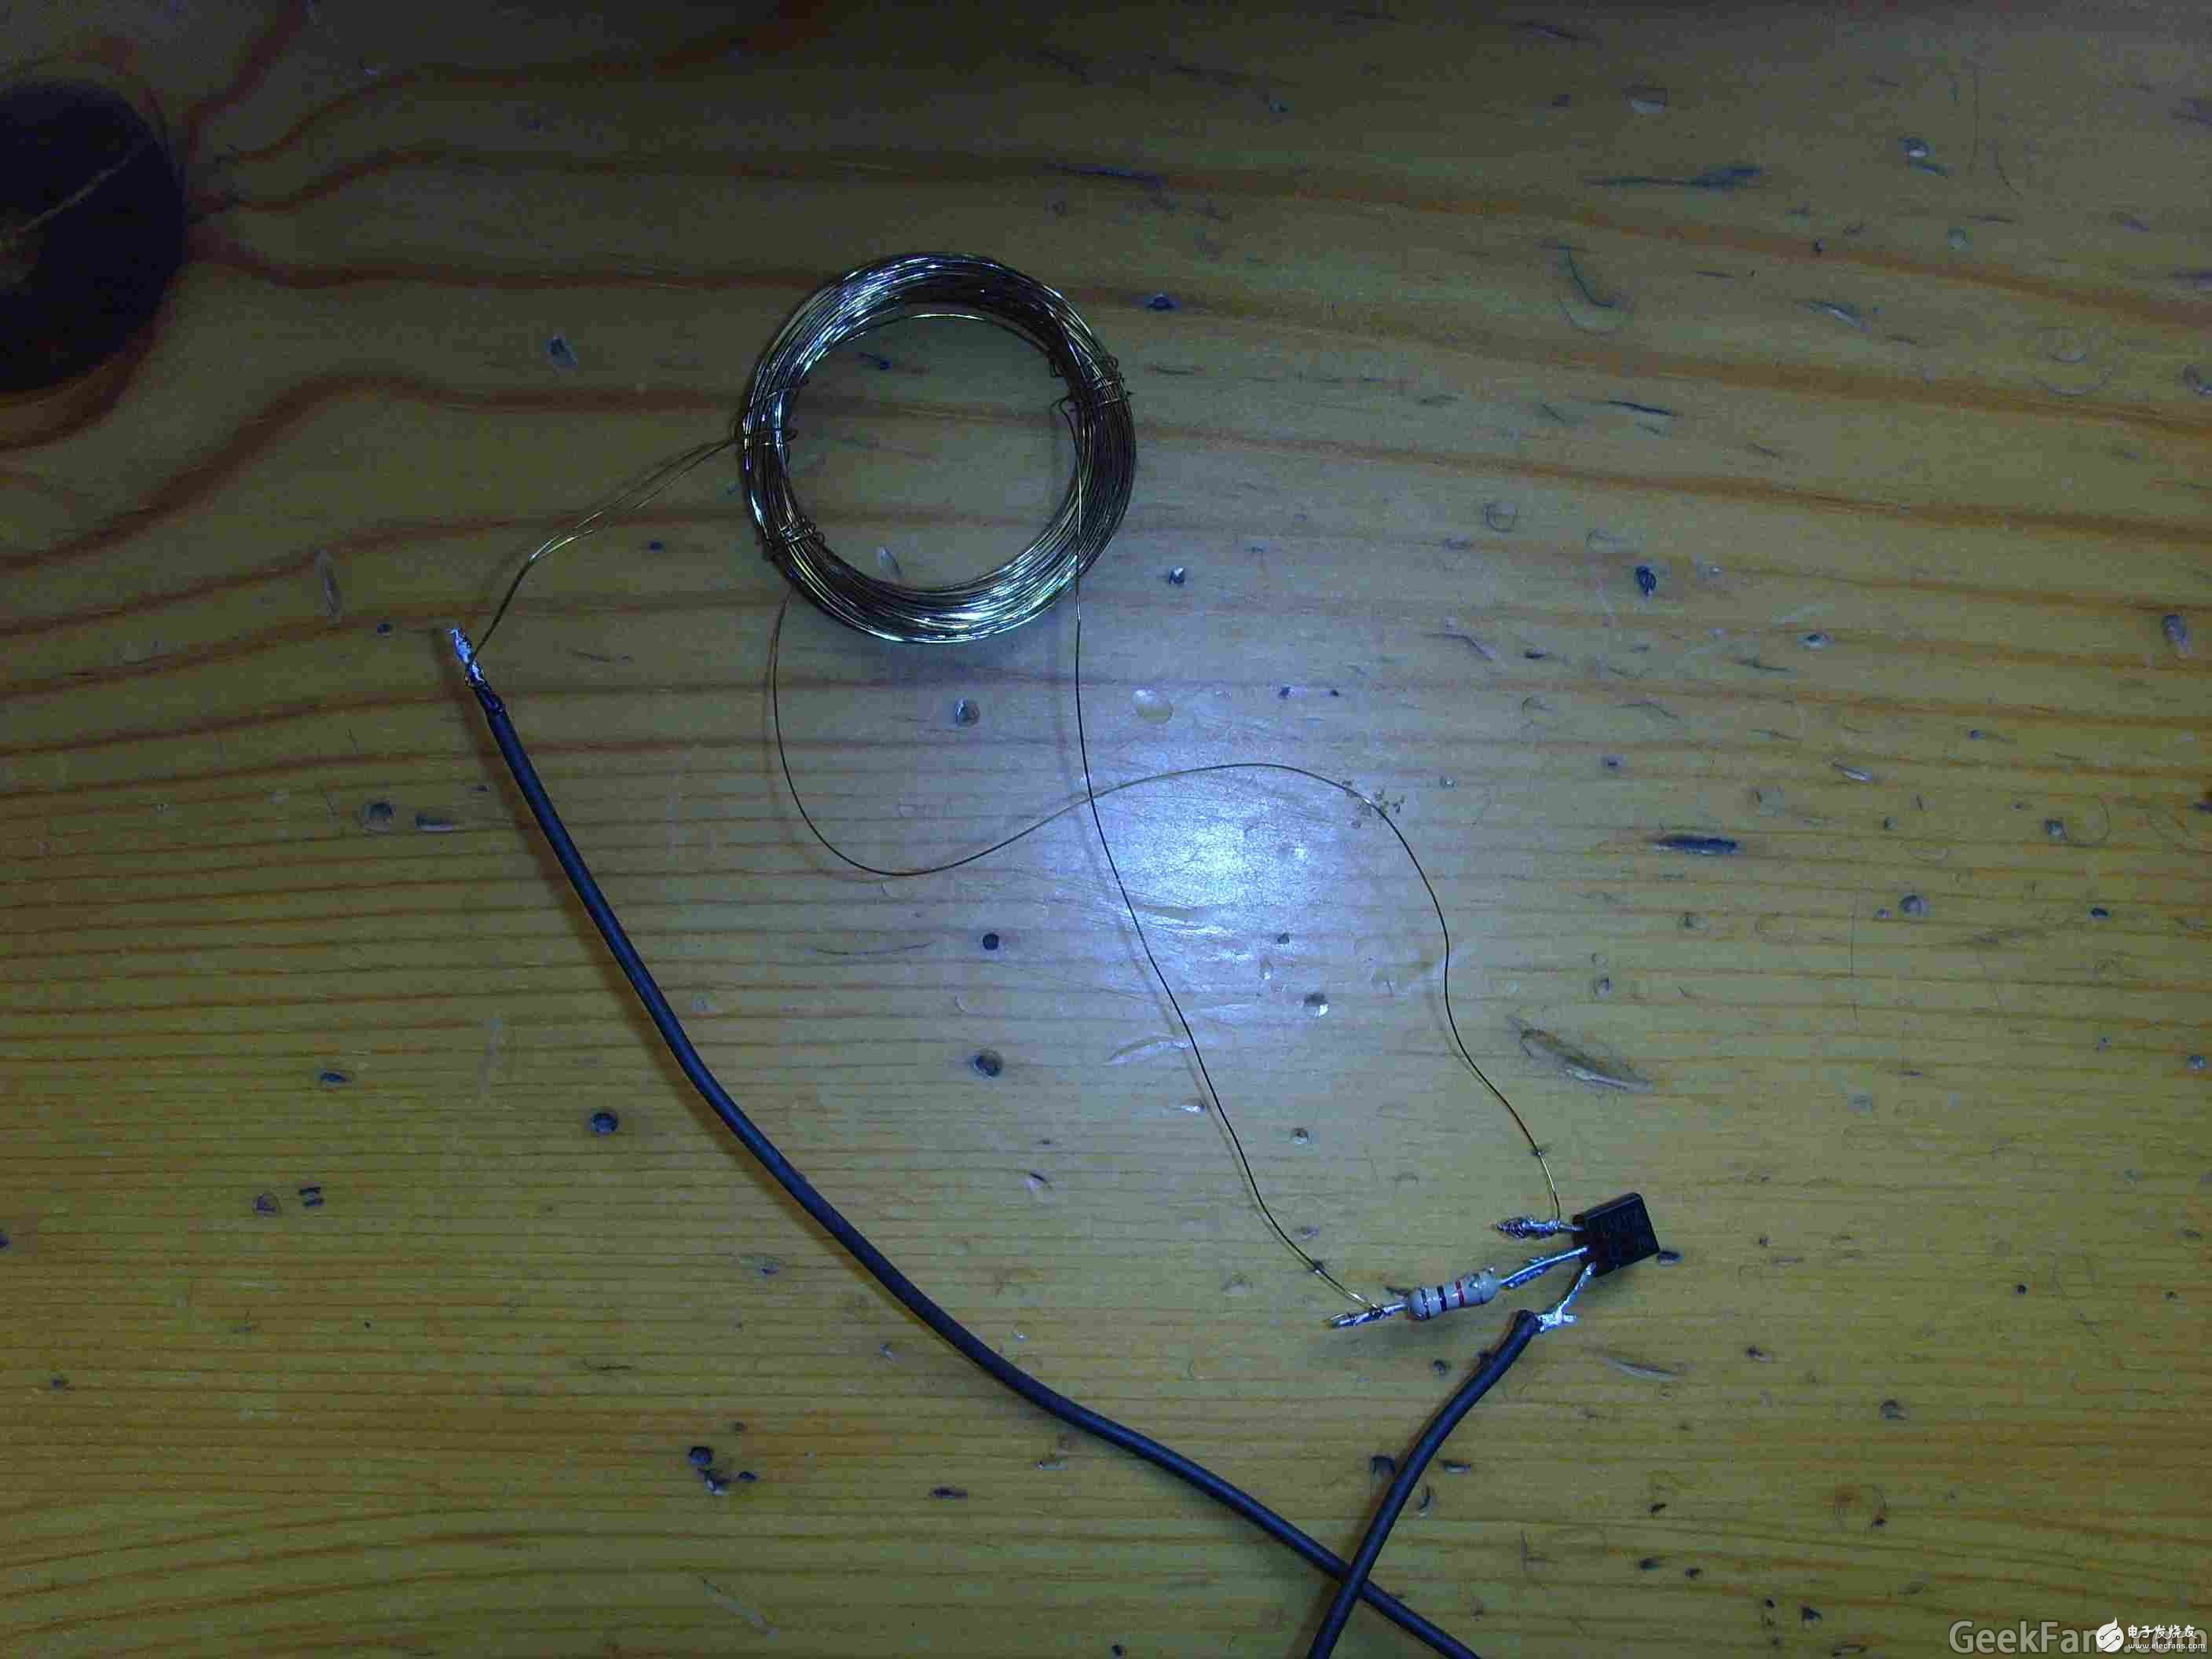
Since the coil has been wound, I will give you the circuit diagram and parameters first. The parameters are: triode 9014, resistance 1 kiloohm (as shown), primary coil (100+100 turns), secondary coil (300 turns).

Start winding the coil! Be sure to circumnavigate the floor lightly, or you won’t be able to get it off after a while, and it’s fixed on the bottle.
When it reaches 100 turns, make a tap. First wind the thread around the finger holding the bottle,
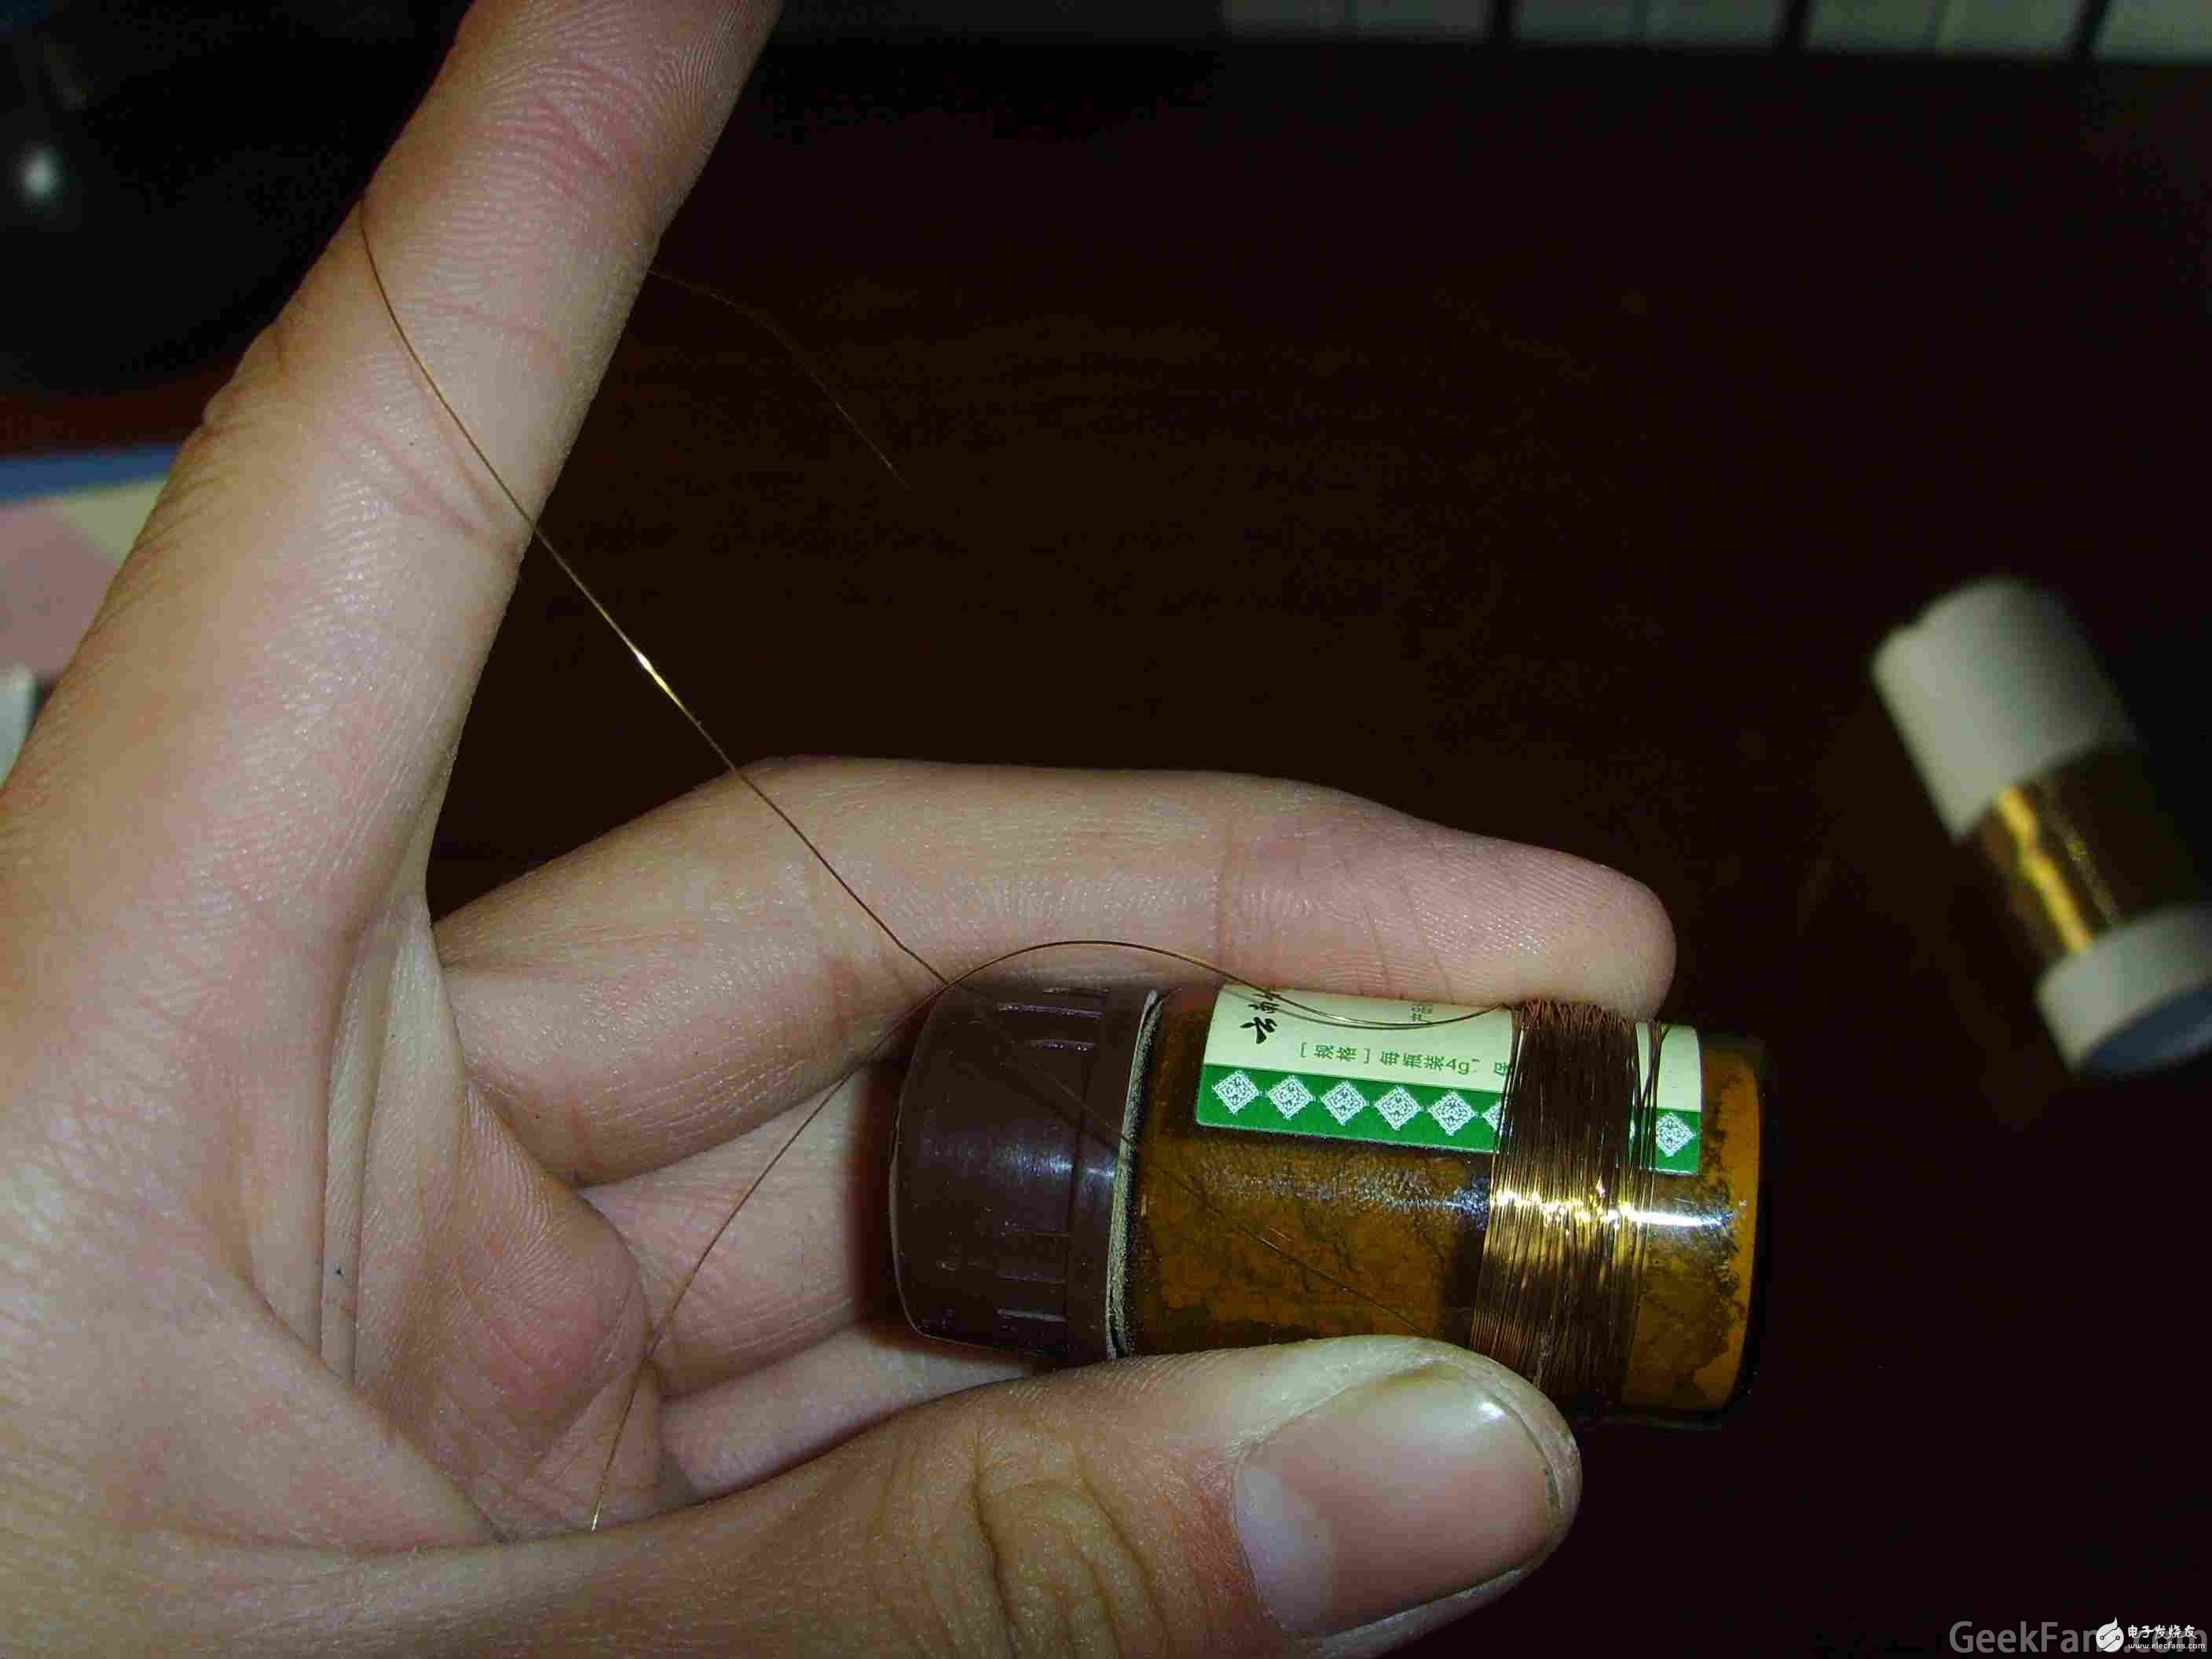
Then wrap a few turns on the bottle and fix it, and then pull out your fingers.
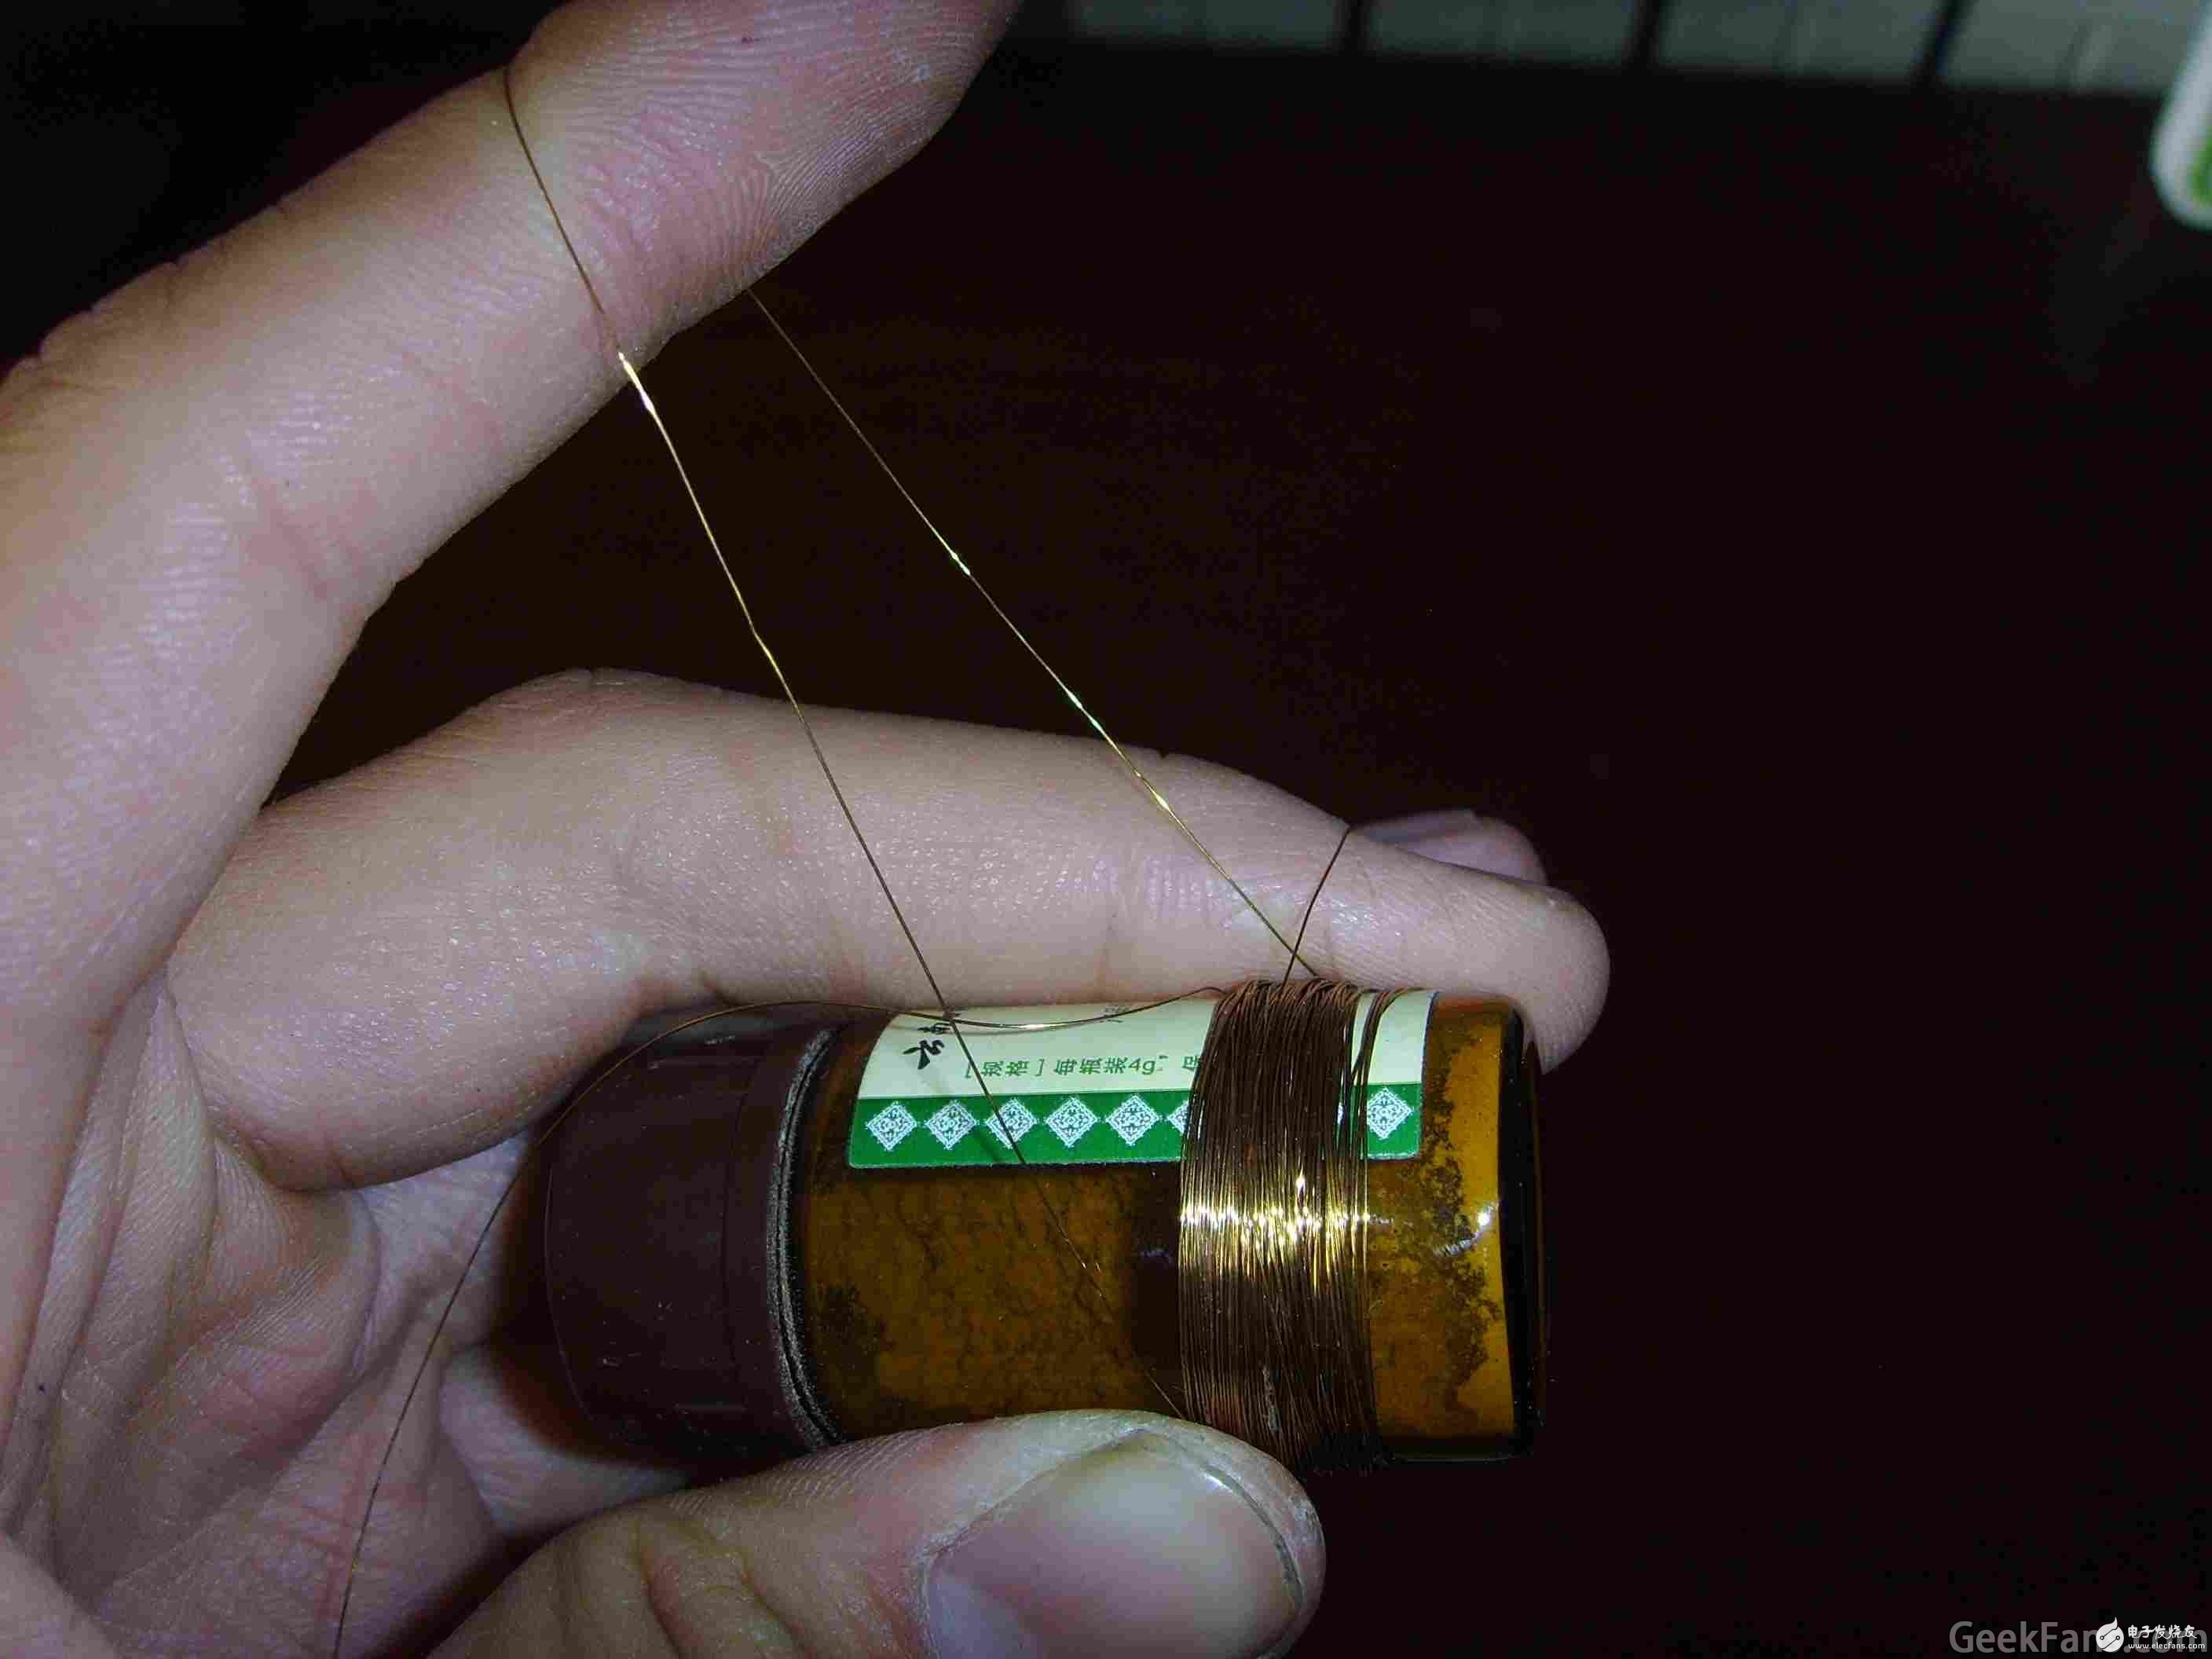
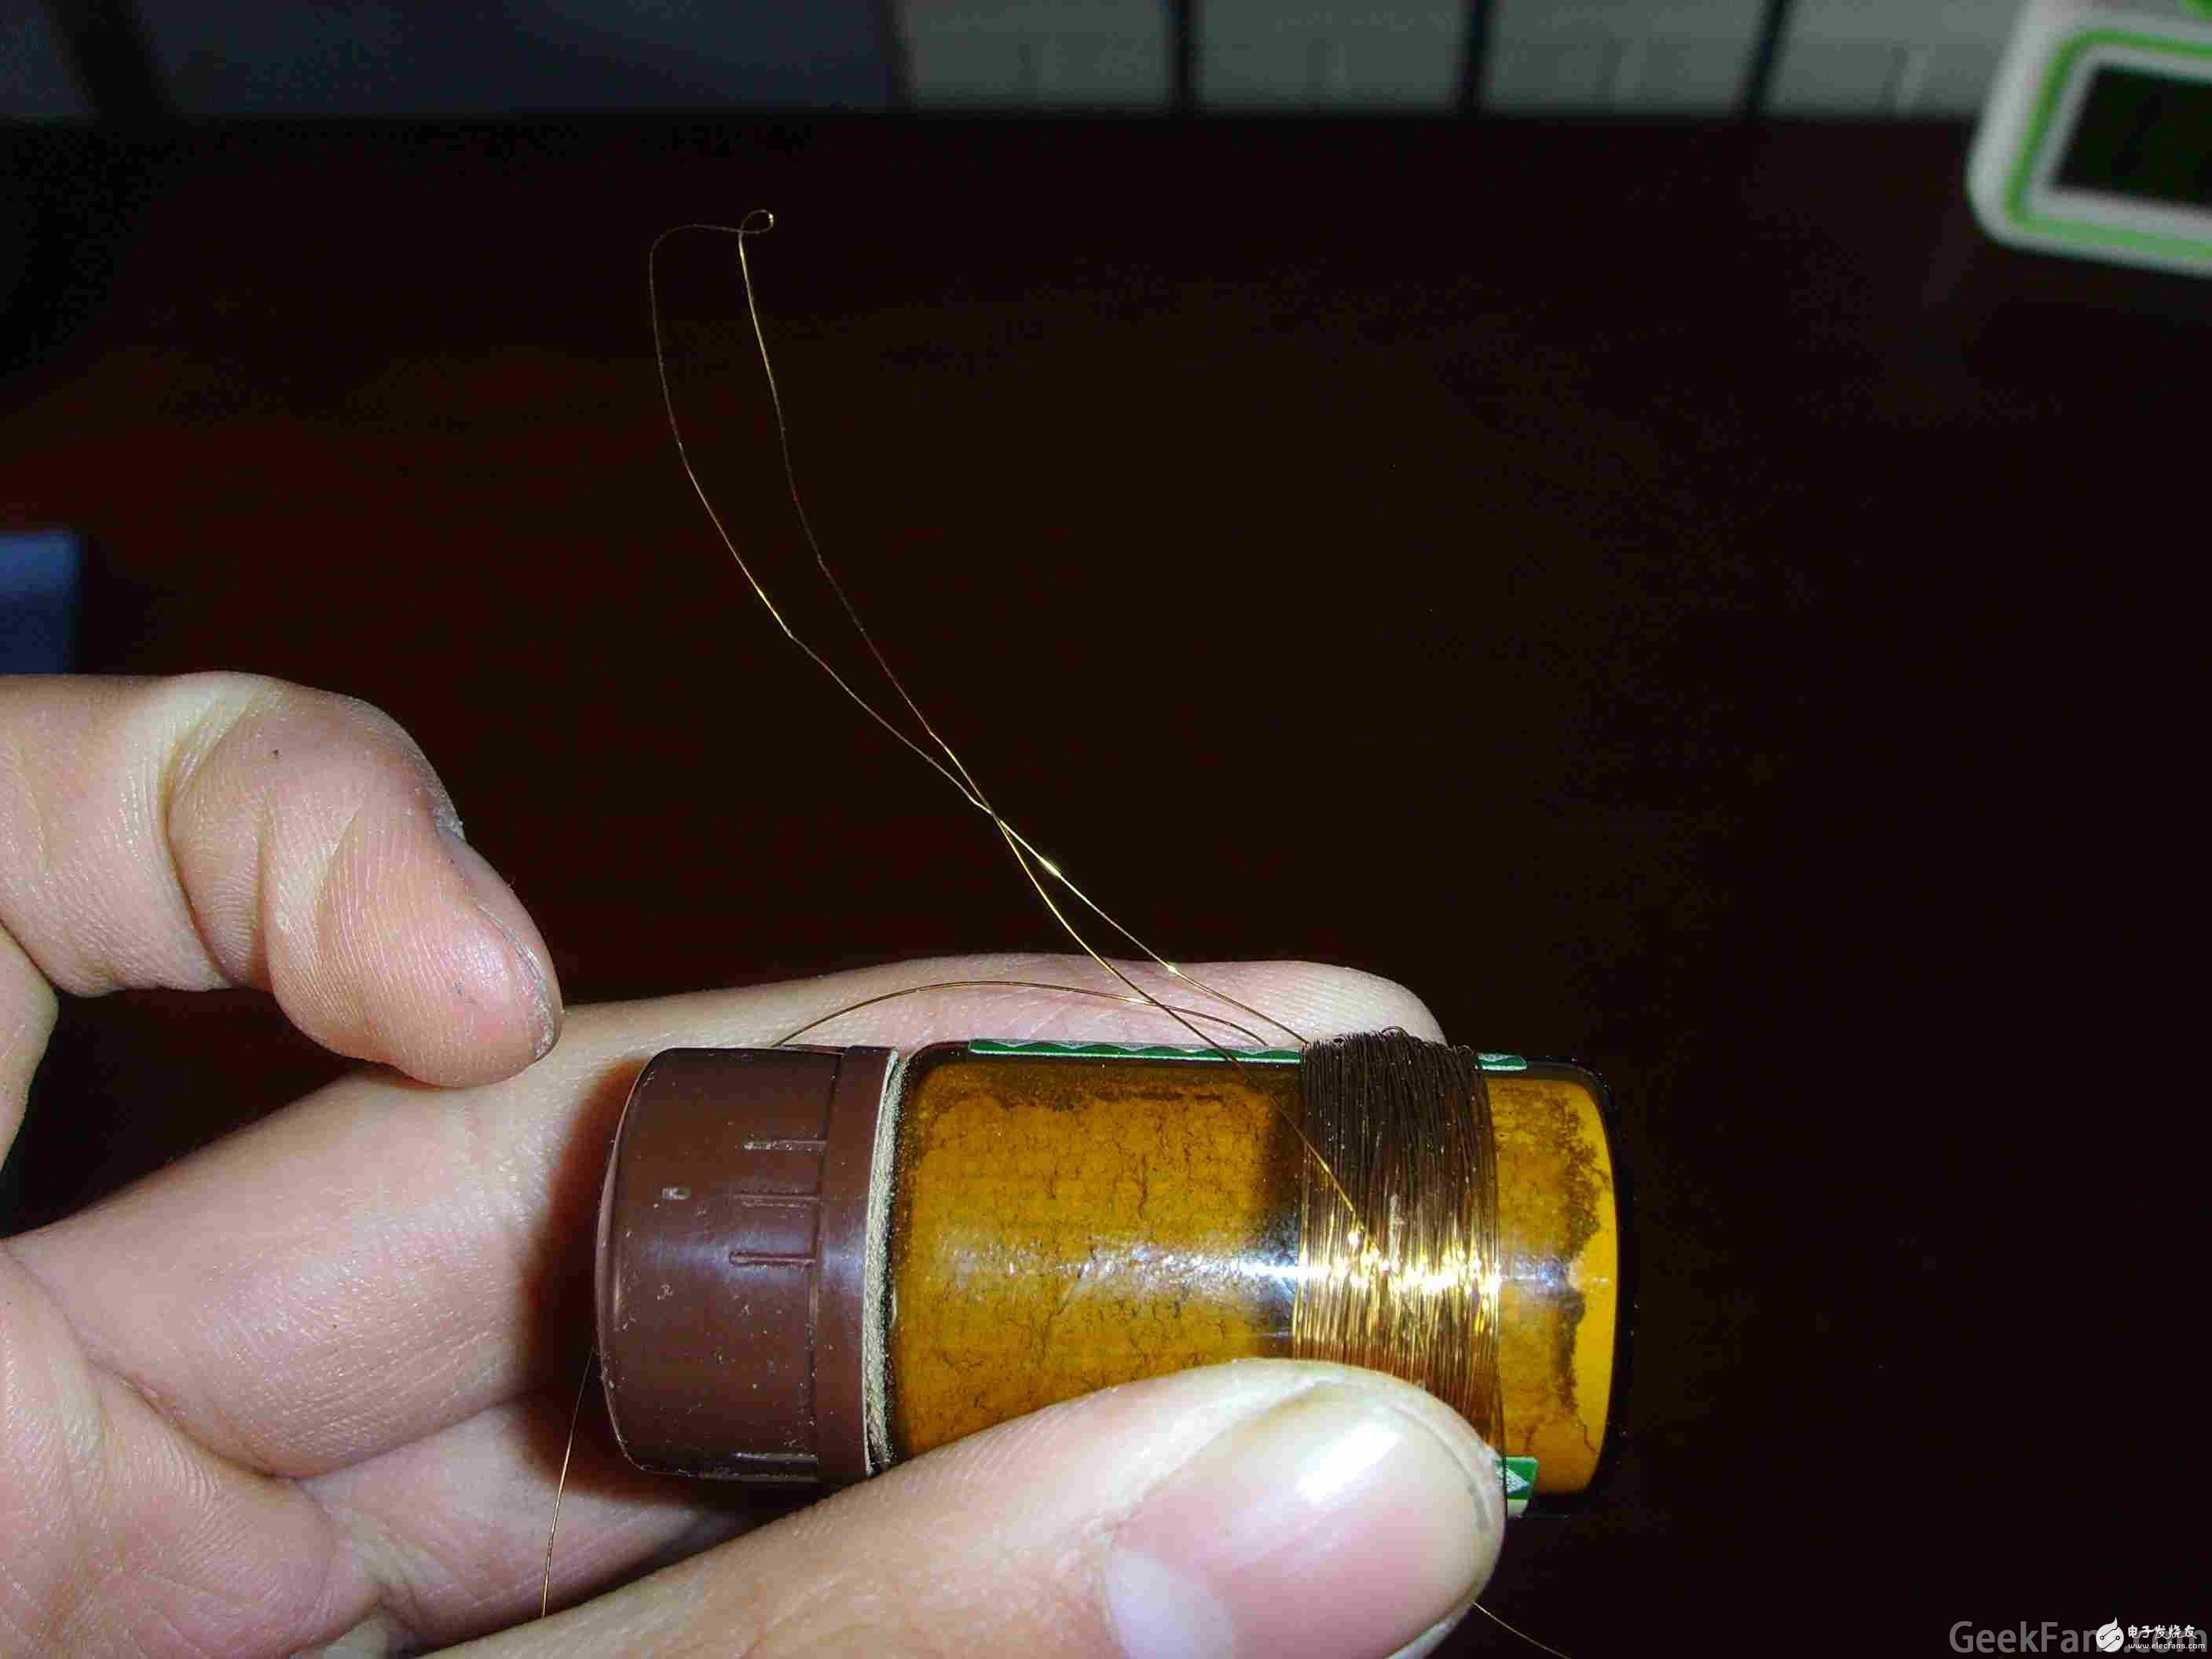
The winding direction after the tap is the same as the first 100 turns, that is, either all clockwise or all counterclockwise.
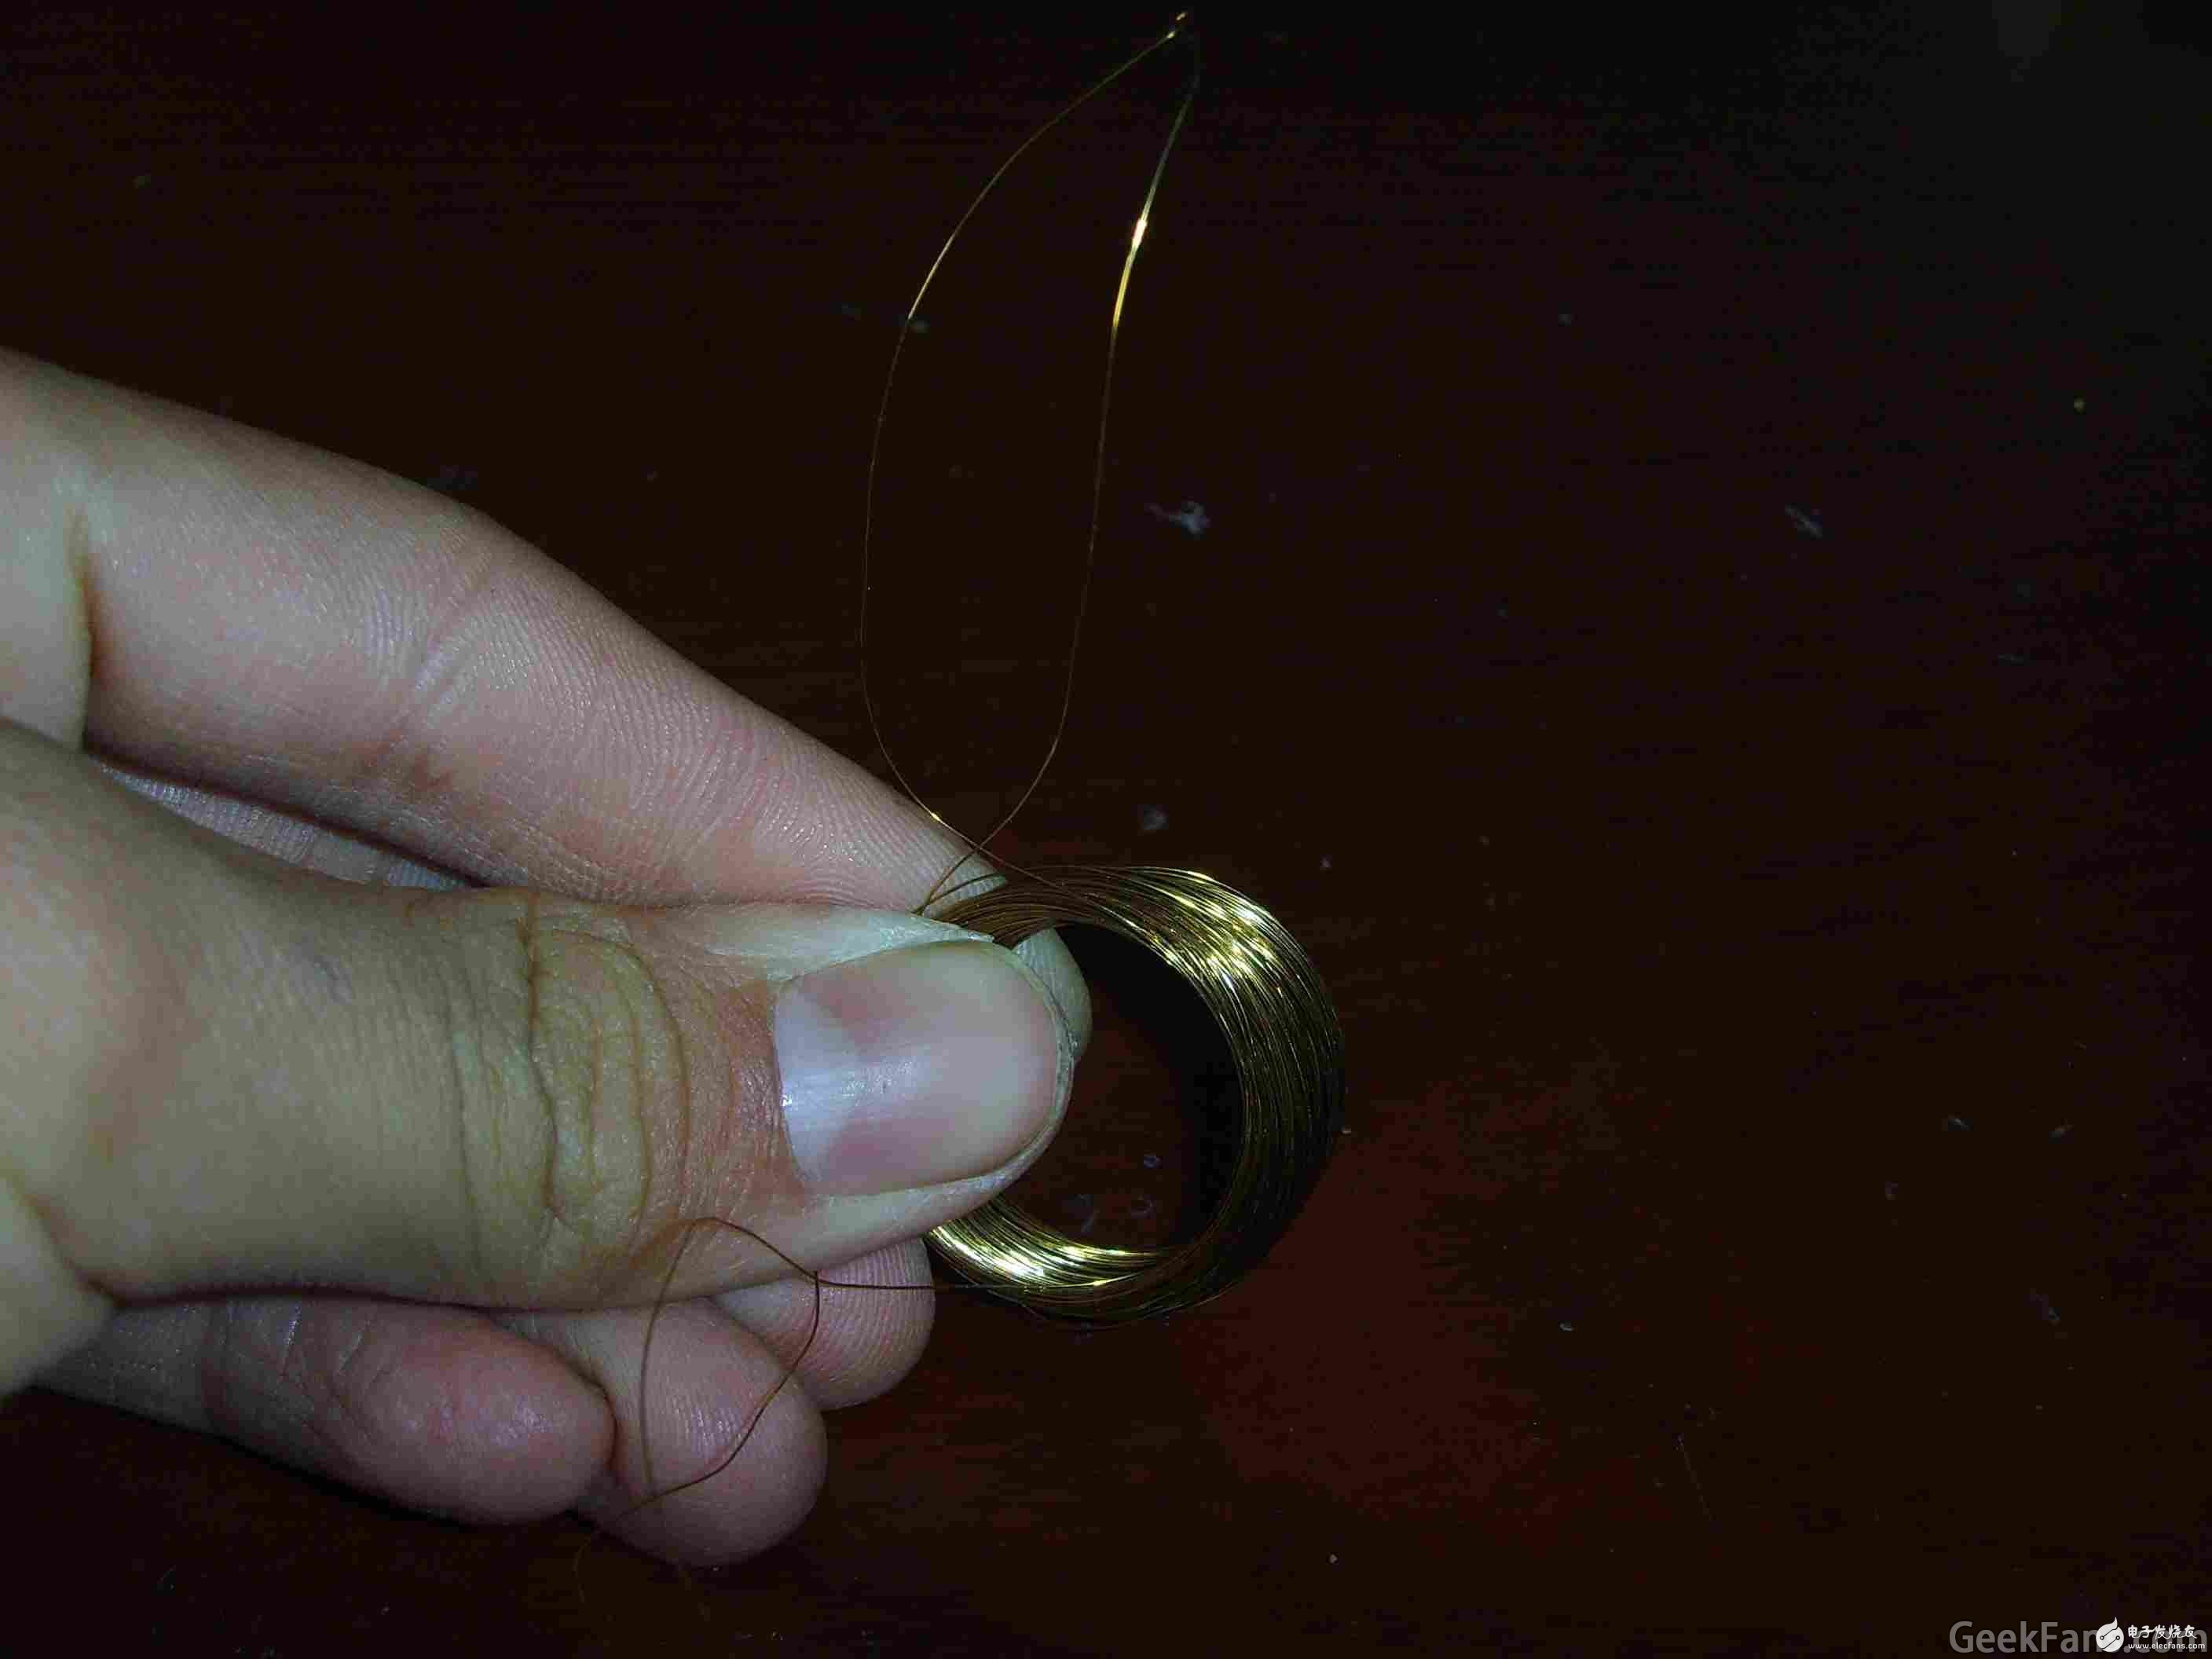
After winding a total of 200 turns, cut the wire, and then remove the coil from the bottle. As shown.
In this way, the primary coil is spared.
In the same way, a 300-turn coil is being wound. In order to make it easier for everyone to identify, a comparison picture was specially taken. The left side of the figure is the primary coil (100+100 turns), and the right side is the secondary coil (300 turns). In fact, it is easy to judge if you remember that the primary coil has a tap.

Okay, after the coil is wound, it's time to weld, just lap welding.
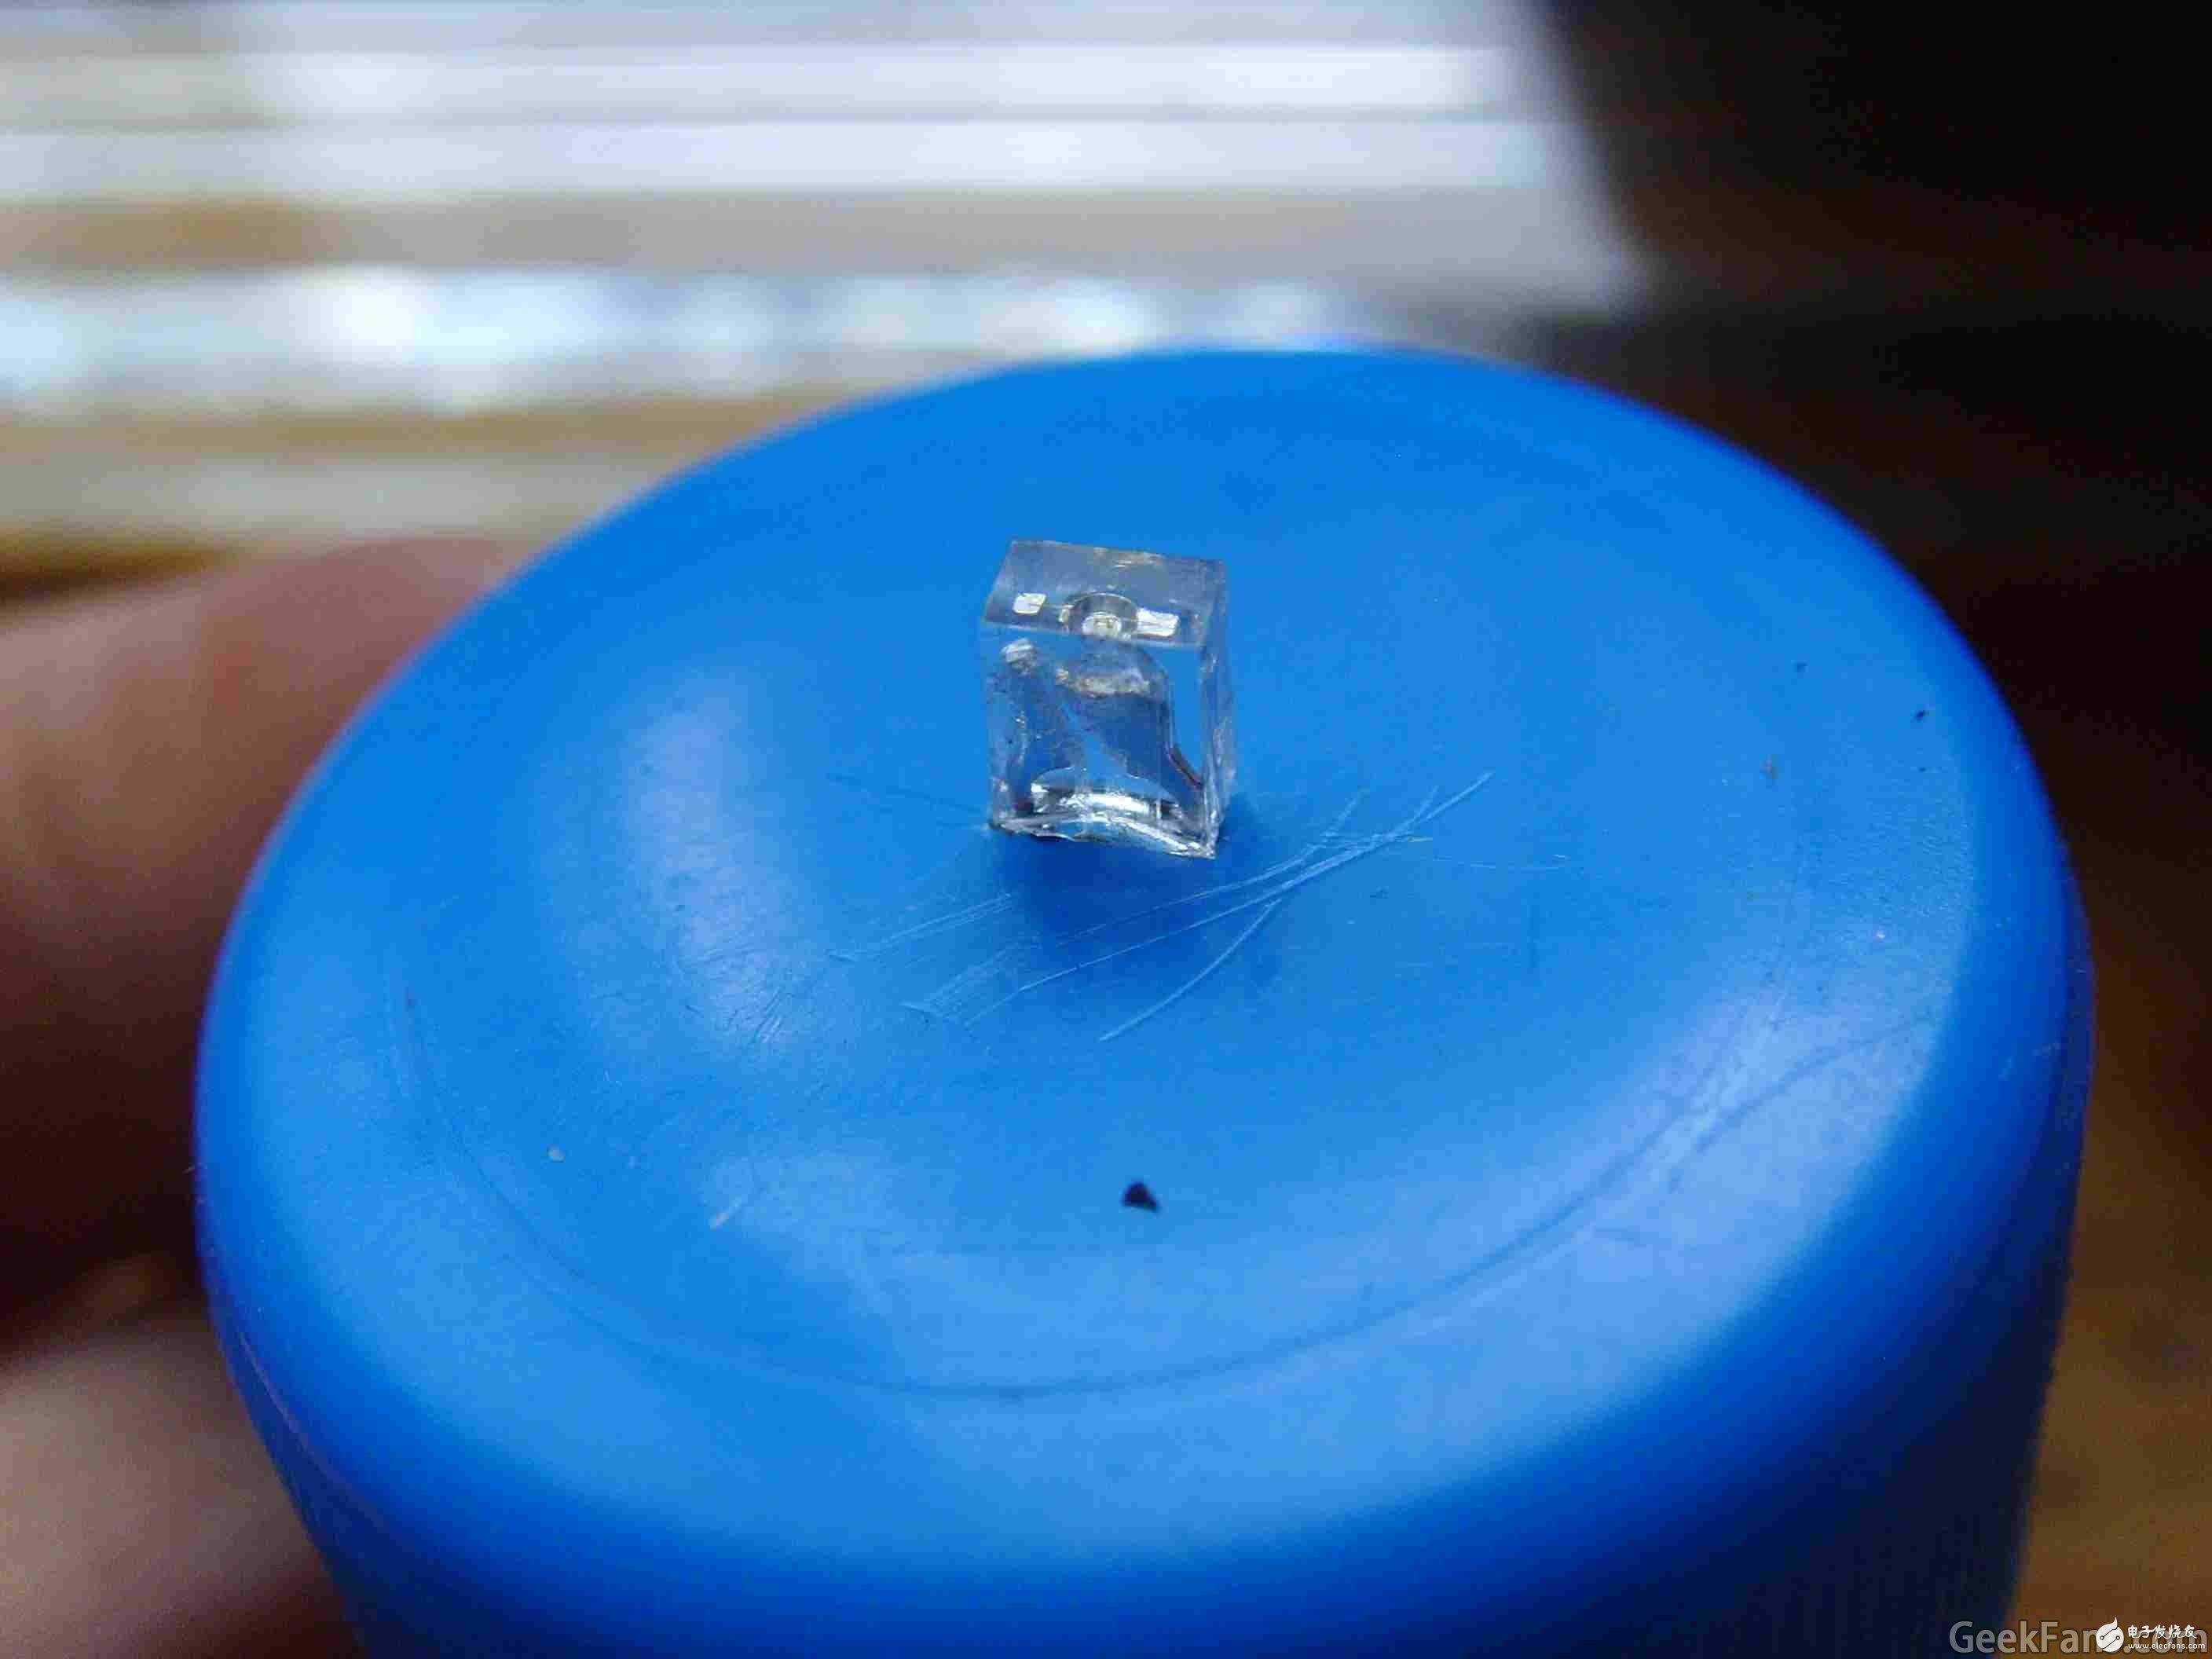
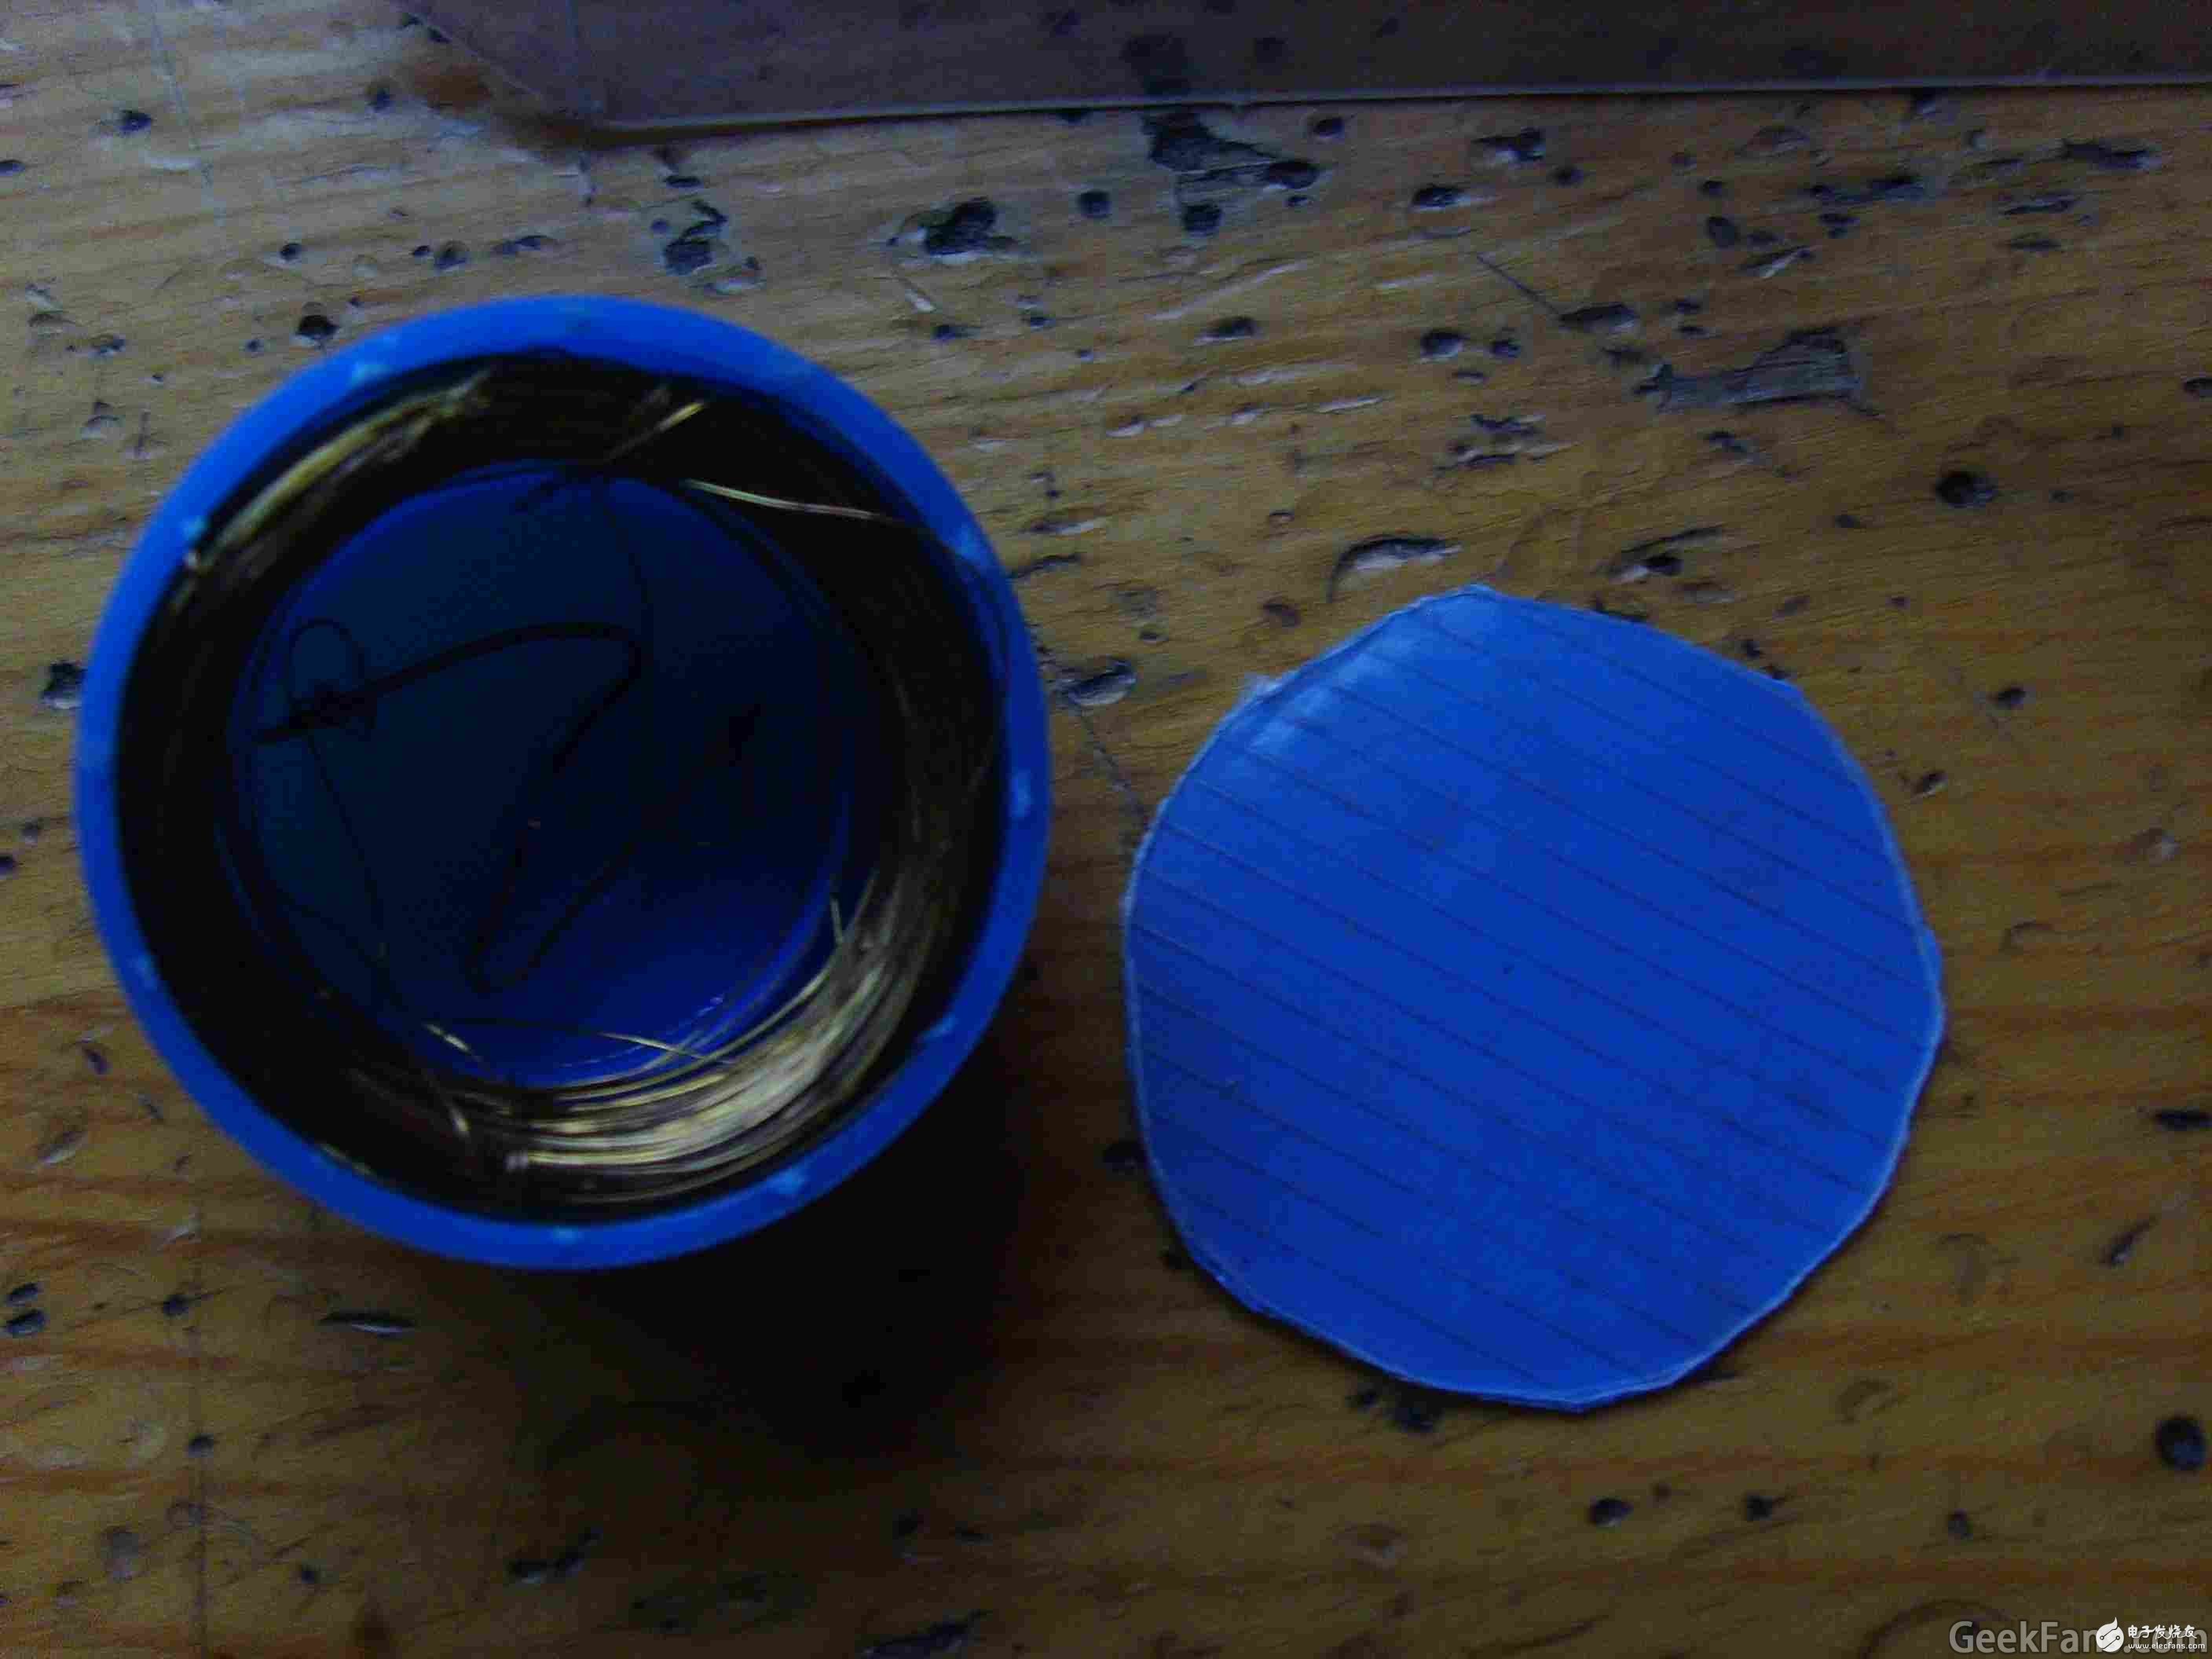
On the secondary coil side, stick the coil on the inside of the bottle cap, and the light-emitting diode is installed on the bottle cap.
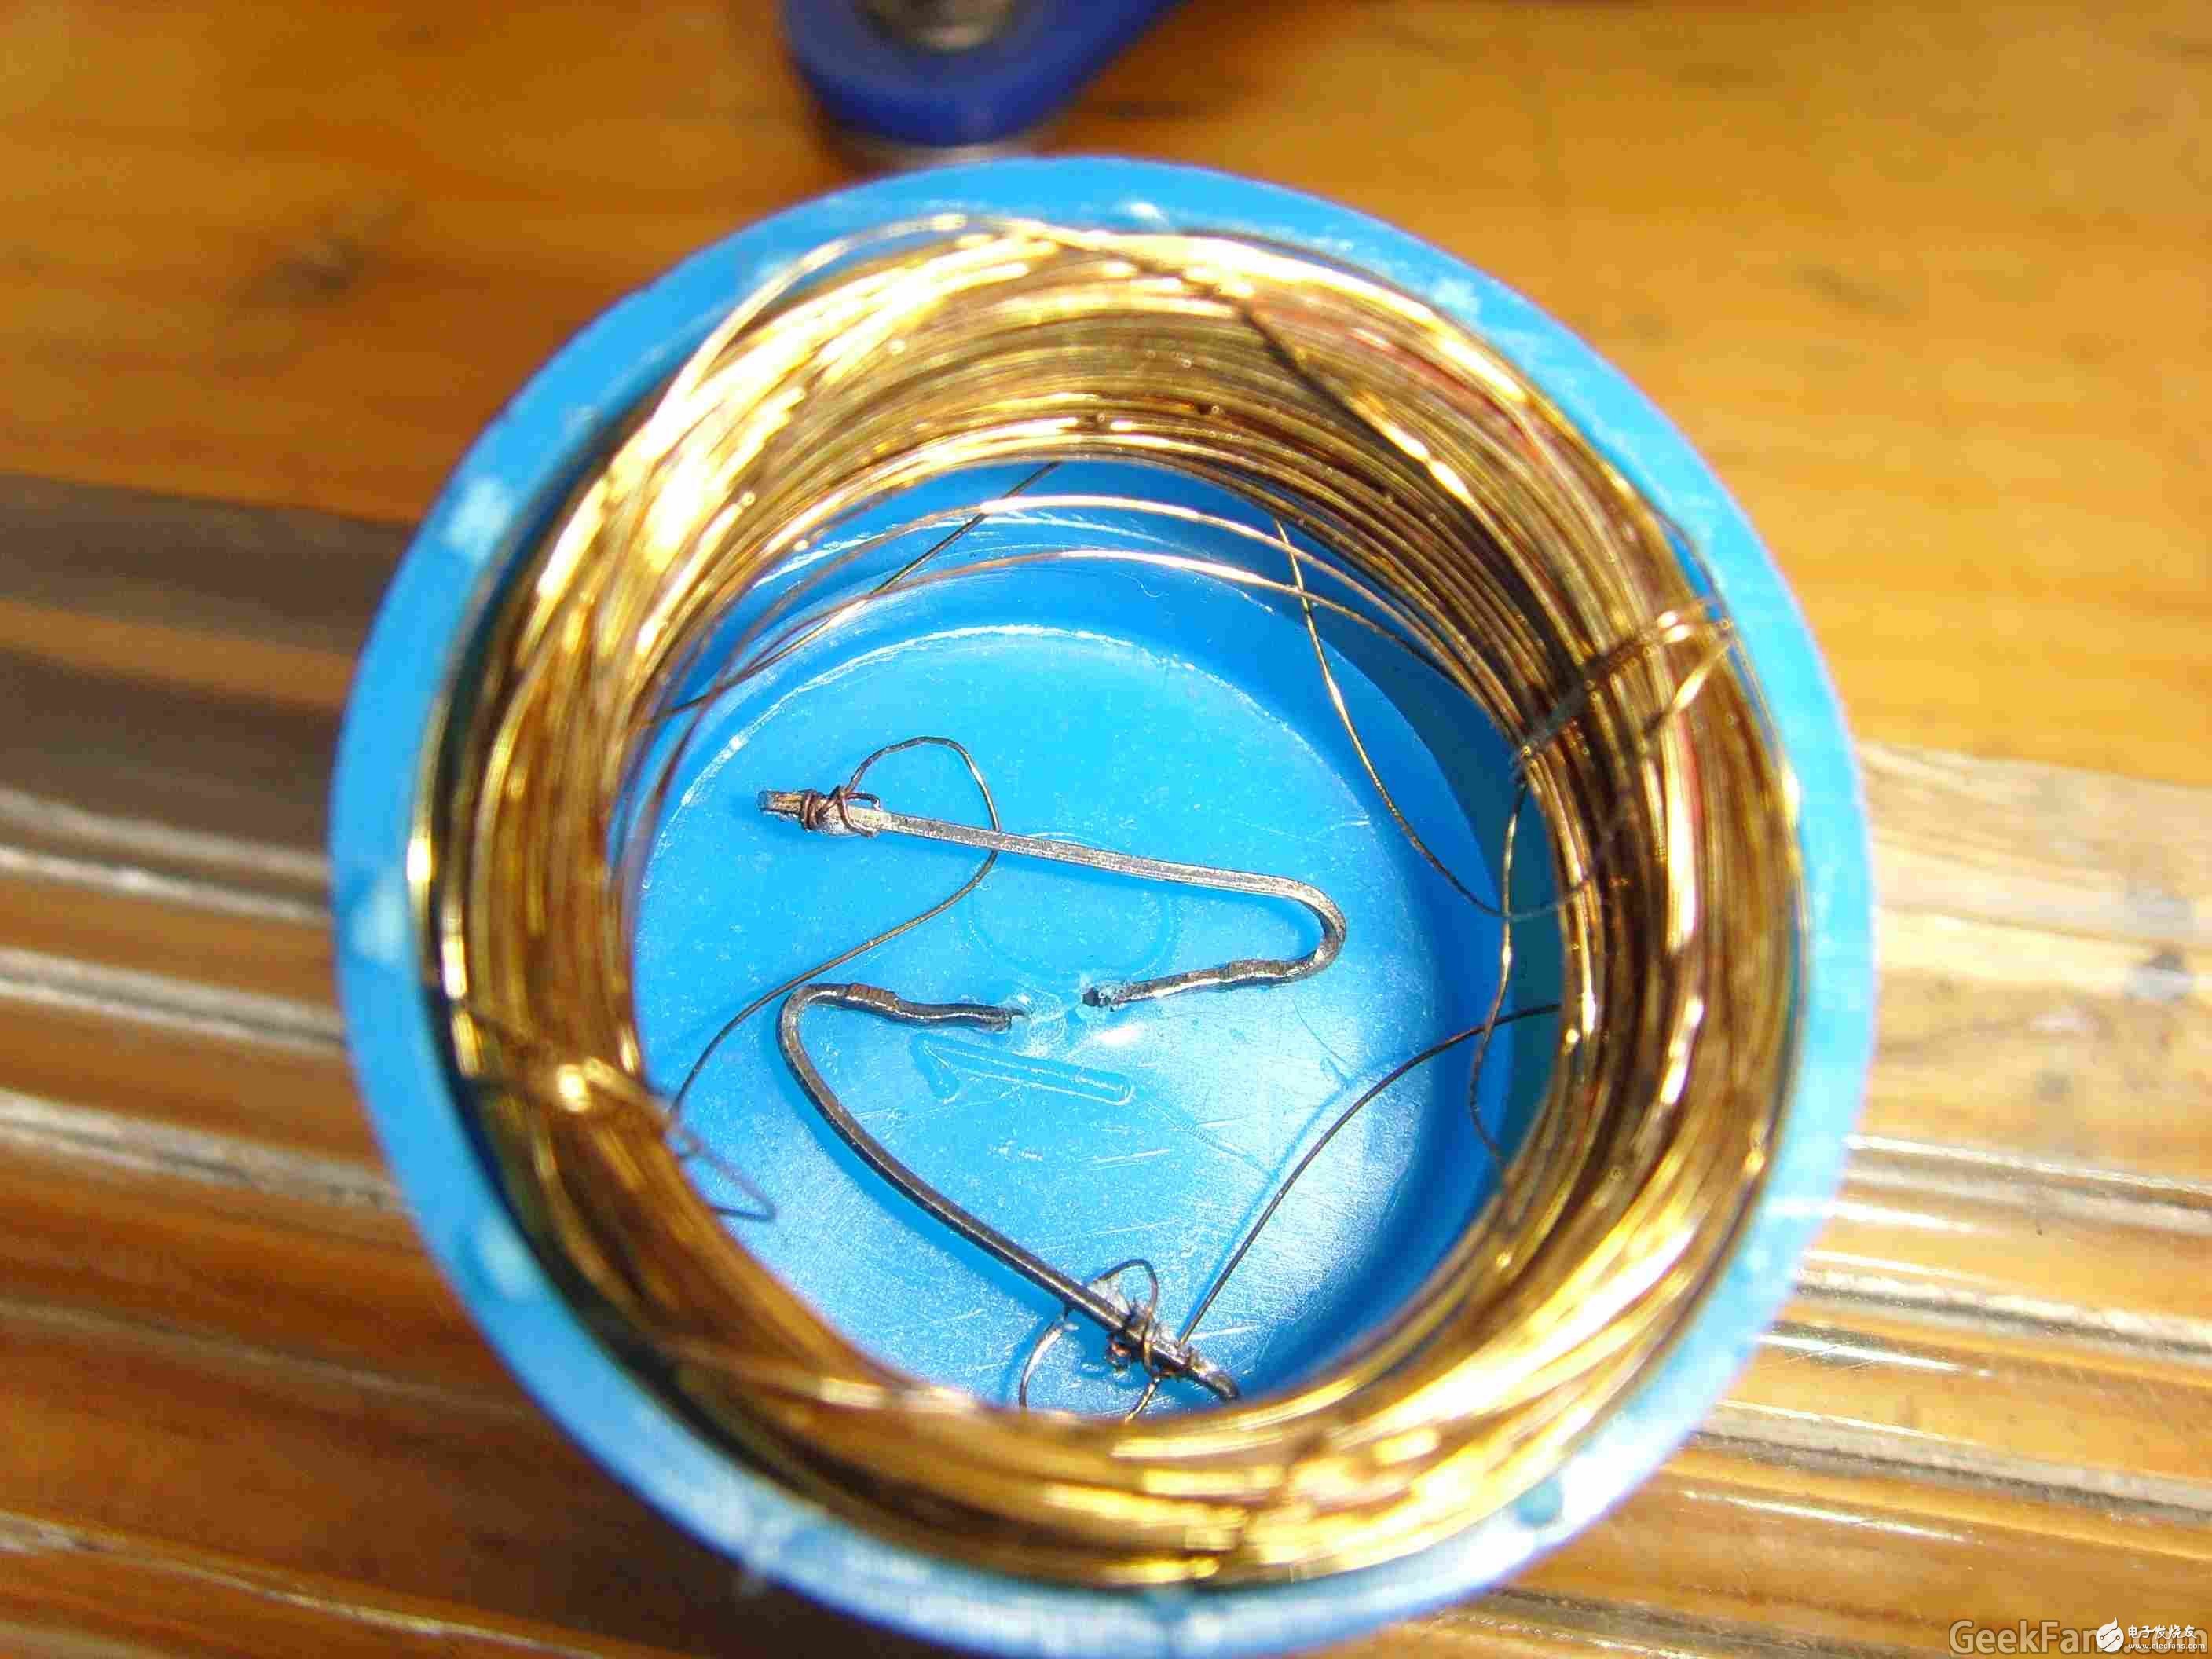
After soldering, because the enameled wire has insulating varnish, beware of false soldering, so take a measurement to prevent it from being disassembled and repaired. It's best to take the resistance test of the multimeter and give you a reference value. (This is the resistance value of a 300-turn coil)

Then test it first.
Then decorate the exterior. Just cut a round hard plastic of the same size from the bottom of the bottle cap and stick it on.
The primary coil is glued to the colored sticky notes with strong glue. Be sure to apply some strong glue, because the sticky sticky viscosity is not good, the coil will be misaligned, which will affect the effect.
Then find a plastic shell, a hollow cylinder.
Glue the sticky notes that have just been glued onto this.
Then make a hole in the side, lead the wire out, and glue the other bottom surface.
Finally, glue on the side.
All right! That's it! Start experimenting!
Try again with an eraser.
1.5 volts is enough. I tried 3 volts and it didn't seem to change much.
Gain Chip,Gain Chip Laser,Narrow Linewidth Laser Diode ,Single Spatial Mode Laser Diodes
AcePhotonics Co.,Ltd. , https://www.acephotonics.com